scoobyra
-
Posts
40 -
Joined
-
Last visited
-
Days Won
8
scoobyra's Achievements
Advanced Member (3/7)
33
Reputation
-
Oak Garden - somewhere to run the trains!
scoobyra replied to scoobyra's topic in Members Garden Railways
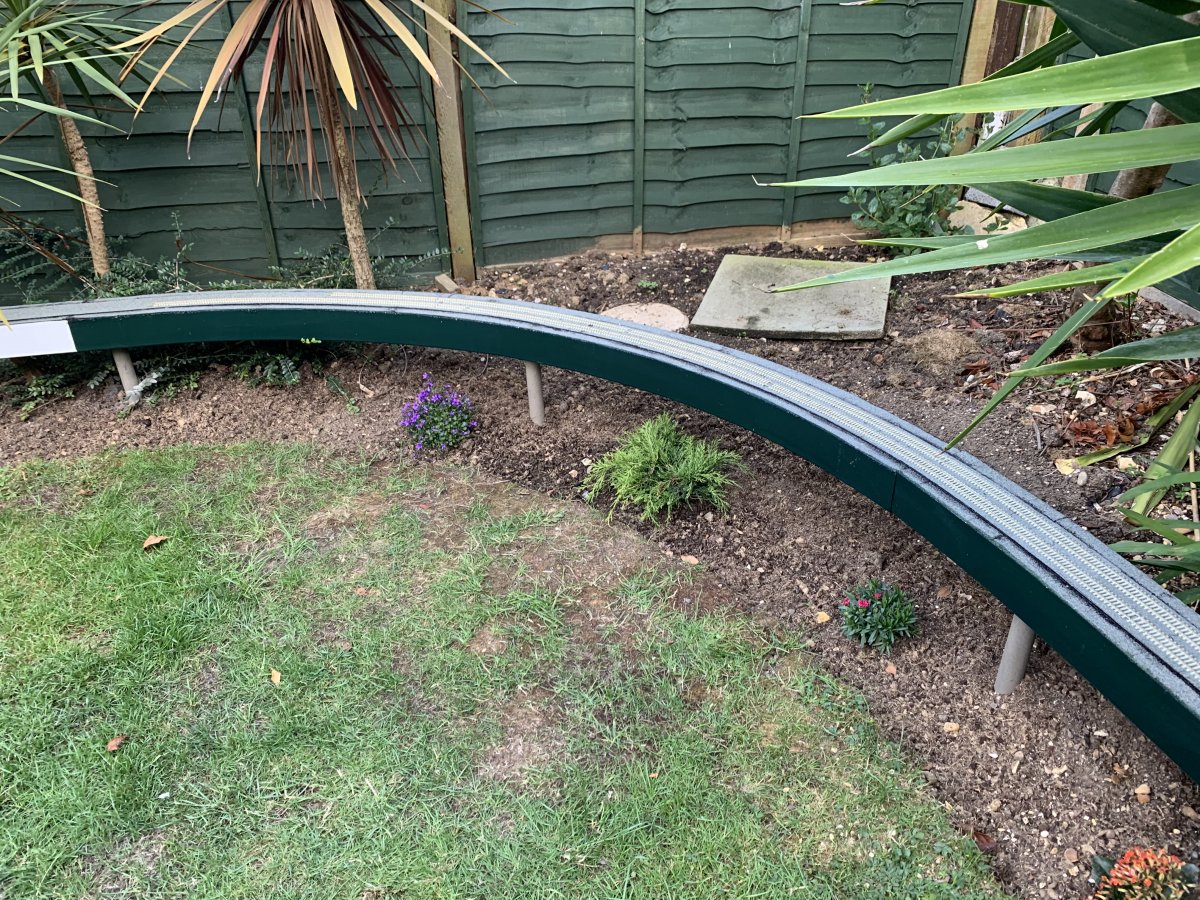
It’s fixed with SBR and so far, it’s stayed put.....only another 84’ to do -
Oak Garden - somewhere to run the trains!
scoobyra replied to scoobyra's topic in Members Garden Railways
Ballast! Probably a bit overkill in the garden, but I did say I wanted to take my indoor railway outside!
-
Oak Garden - somewhere to run the trains!
scoobyra replied to scoobyra's topic in Members Garden Railways
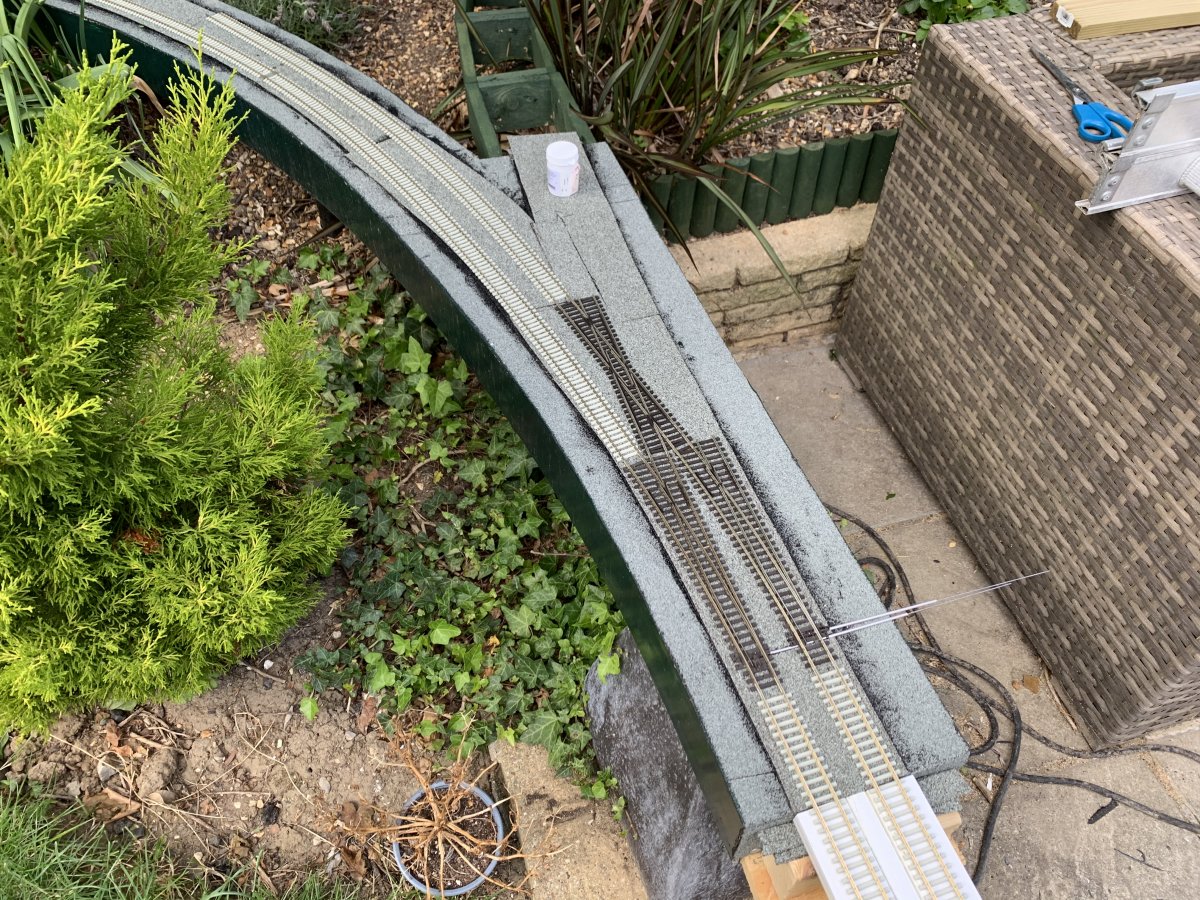
A break in the weather saw more progress today - Lavender Junction East, and Lavender Junction West we’re installed.... .....and I also got the frame of the River ‘Steps’ bridge in place for a trial run before I make the mountings for it.... I thought I’d have some trains running this evening but a ‘schoolboy’ error whereby bonding the stock rails to the switch rails of the electro frog points caused shorts all over the place! I’m not sure what I was thinking of when I did that - fine on the newer style points when using frog switches but ridiculously stupid on the early versions. I really don’t want to rely on the switch rails outside so I’ll be running a slitting disc through them to isolate the frogs and turning them in to insulfrog points. I can’t really grumble, they were given to me for free so beggars can’t be choosers, as they say!! Fingers crossed, I’ll have trains doing a full circuit at some point this week.
-
Oak Garden - somewhere to run the trains!
scoobyra replied to scoobyra's topic in Members Garden Railways
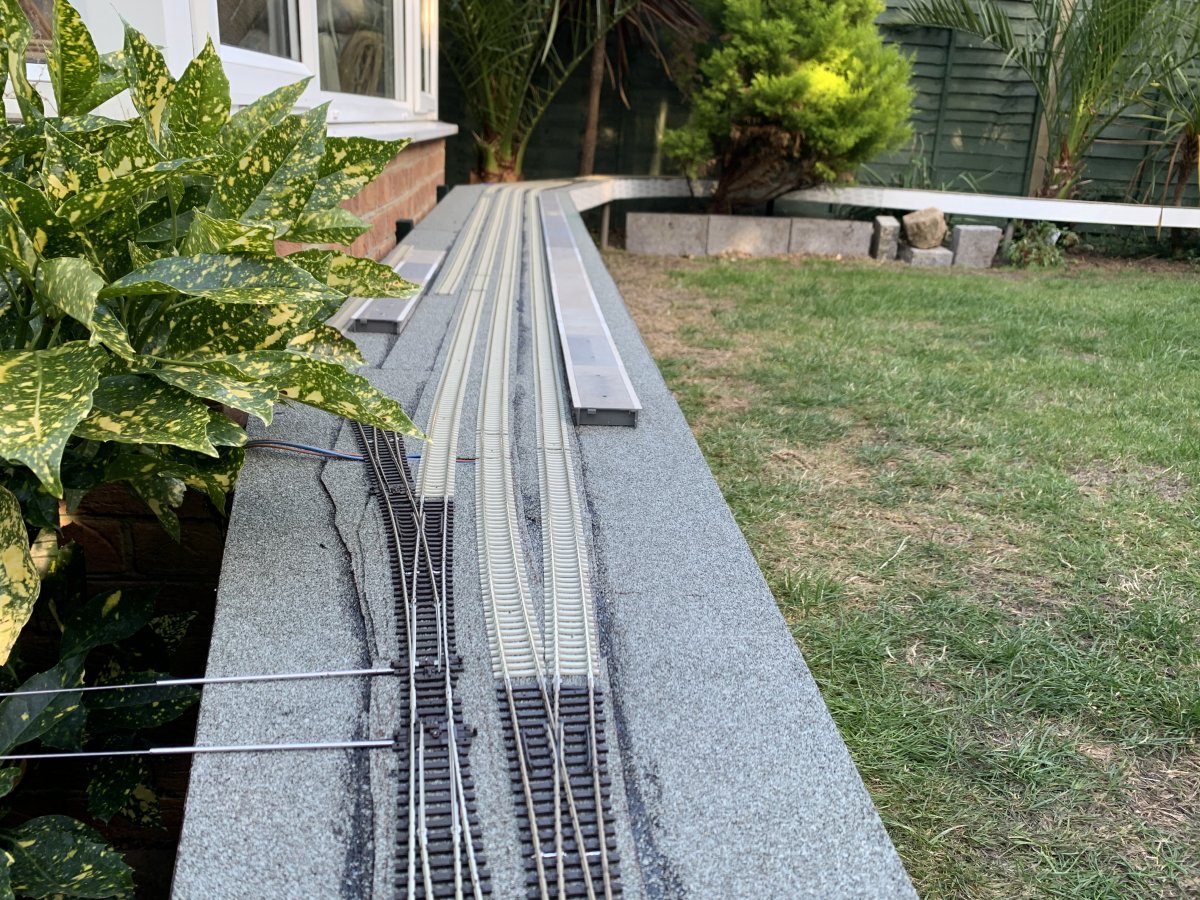
That’s every 12 feet, not every 12 inches 😃 I’ve used 0.75 indoor flex - the equivalent of 24/02 for the bus, and the power feeds, and there’s also a separate accessory bus that also uses 24/02. On Oak Road, my exhibition layout, every piece of track has dropped wires because I don’t use rail joiners. it’s also helps to have a DCC system that puts out a decent current. I’m using a DIgikeijs DR5000, but there’s other alternatives such as the Z21 that Mick uses, and these put out between 3-4amps (regardless of what the spec says). Mike -
025 looks great Mick (I’m not really in to the EWS tractors)
-
Oak Garden - somewhere to run the trains!
scoobyra replied to scoobyra's topic in Members Garden Railways
Hahaha....good point....along with “today it was too windy” There’s a power bus with track feeds roughly every 12’ and then (when I get around to it) flexible jumpers across every rail join. -
Oak Garden - somewhere to run the trains!
scoobyra replied to scoobyra's topic in Members Garden Railways
Nearly completed the station area....I’d have done it today if it wasn’t for the rain! I need to start wiring the sections up soon so that I’m not relying on the rail joiners.
-
Hi Chris Nice to see someone else in the ‘construction’ stage. Looking forward to seeing you get a bit more done if the weather holds up for you. Looking great so far. Mike
-
Oak Garden - somewhere to run the trains!
scoobyra replied to scoobyra's topic in Members Garden Railways
Finally, I’ve made it to the station area. I just need to anchor down the rails and then I can cut through them so that the lift out section is independent again. The track on the left leading out of the station towards the fir tree is quiet close to the edge so I’ll be adding a short wall to stop anything taking the plunge! I’ve also had to correct a schoolboy error behind the fir tree because I didn’t leave enough space between the two tracks - I’d forgotten I’d made the curve sharper here so the MK3 coaches were touching each other, and that means the 800s would have no chance! I’ve respaced it now and all is fine. Next up is a temporary bridge to get over the steps to the lawn!
-
Oak Garden - somewhere to run the trains!
scoobyra replied to scoobyra's topic in Members Garden Railways
I’m lucky enough to have similar on my indoor railway too. -
Oak Garden - somewhere to run the trains!
scoobyra replied to scoobyra's topic in Members Garden Railways
Cheers Mick. I’ve not been able to get much done lately due to it being a bit warm in the garden! I’ve got round as far as the conservatory with a full double track and I’m just starting the point work in to the station. Finding something suitable for the lift out section track joints is the next hurdle. I’m thinking of large strips of copper clad board screwed down? -
Update as promised. The CDL unit arrived from eBay so last night I wired it up to the AD1-HP, and then realised it may work properly due to how the decoder operates. The AD1-HPs are effectively the circuit board from a Cobalt IP Digital, which is a stall motor, therefore it will continually drive a motor until it gets to the stop point. Anyway, I wired it up and it did work, to a point....where it threw the arm out but it then bounced back causing the command station to trip out. What I didn’t do was limit the travel and stop it bouncing back. I’ll give it another try and see what happens. It may also be that Chris was right in the fact that although the decoder can actually power the motor, it may be drawing too much current. I’ll soon find out. Back shortly.
-
Oak Garden - somewhere to run the trains!
scoobyra replied to scoobyra's topic in Members Garden Railways
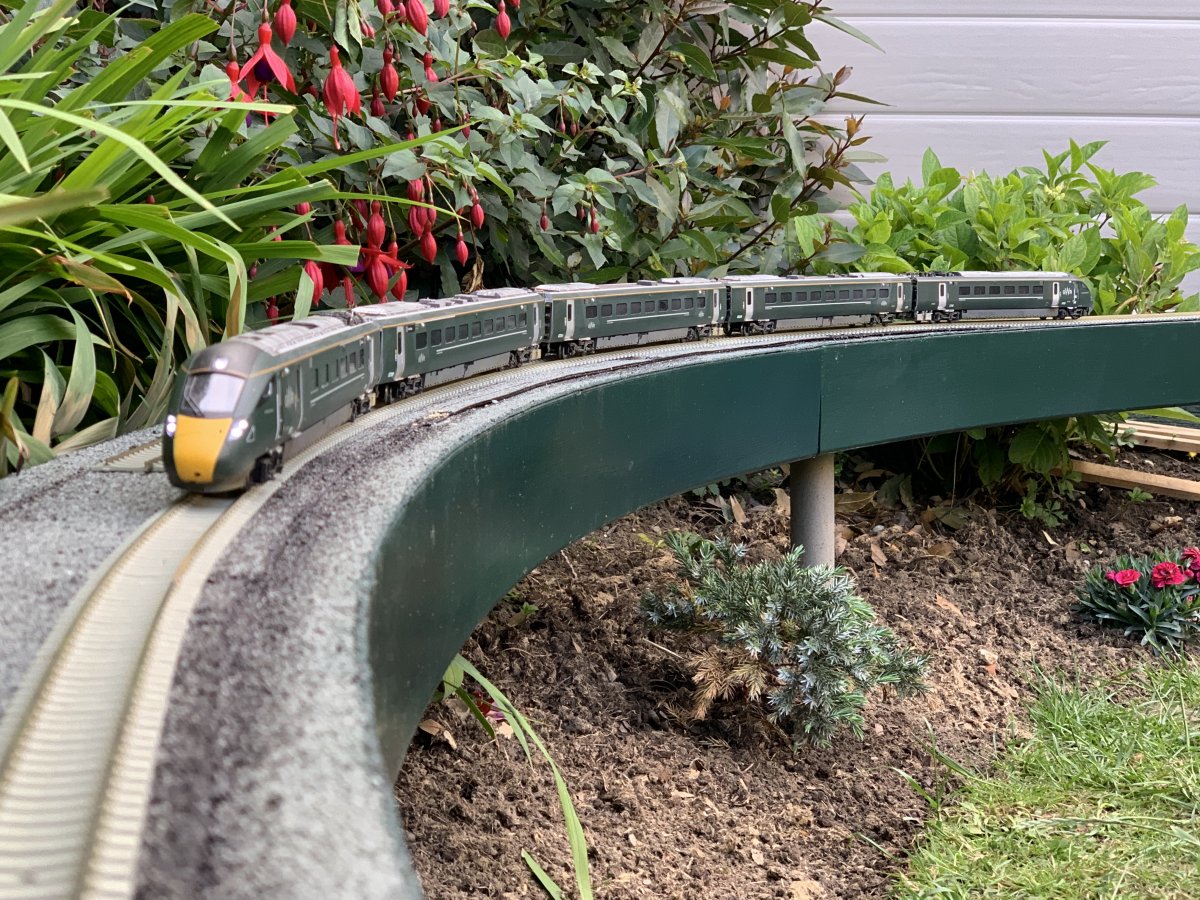
More work done - the branch junction is in, and the point control rods. I also managed to lay some more track towards the tunnel. Here’s a good shot showing the super elevation. The weather is meant to be cracking for the next few days so I’m going to attempt to make it round to the station area, then start going back the other way from the other side of the viaduct.
-
Oak Garden - somewhere to run the trains!
scoobyra replied to scoobyra's topic in Members Garden Railways
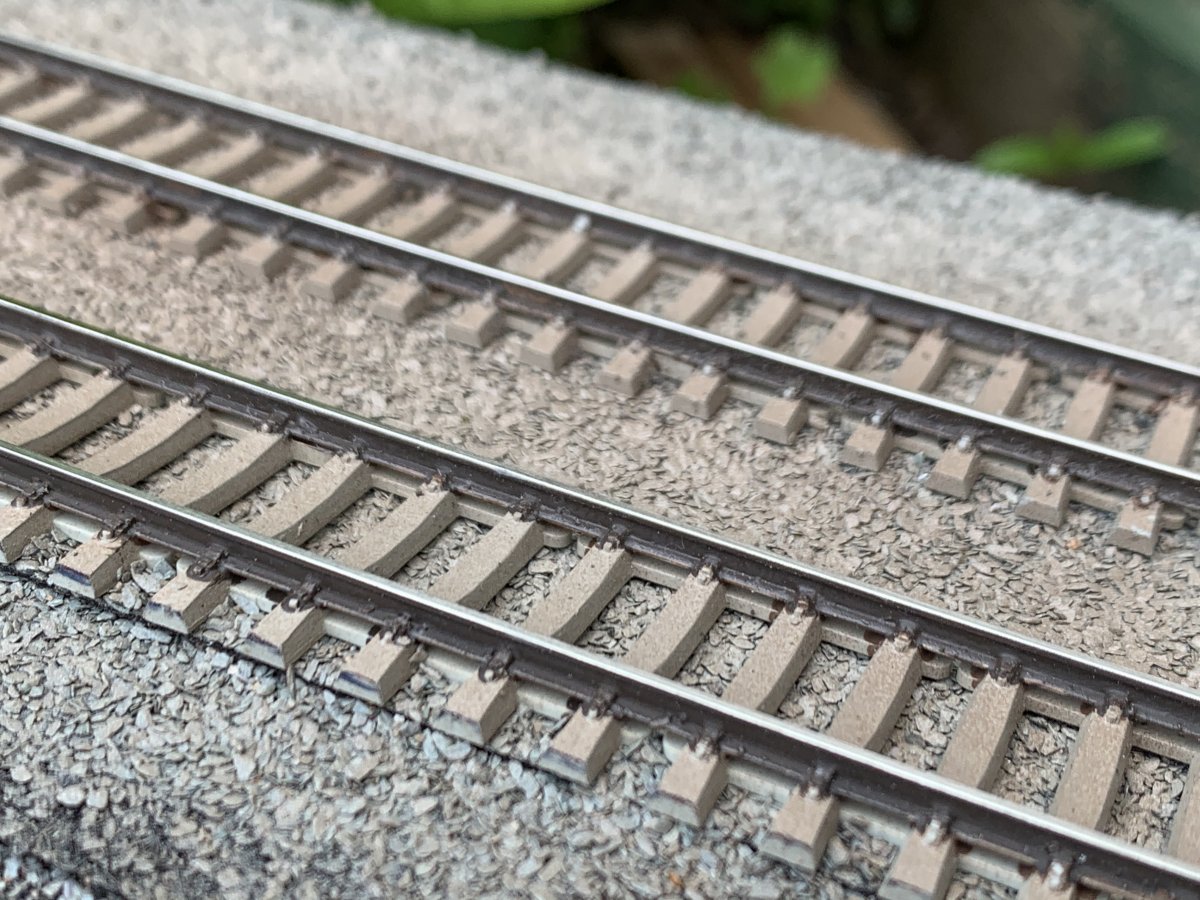
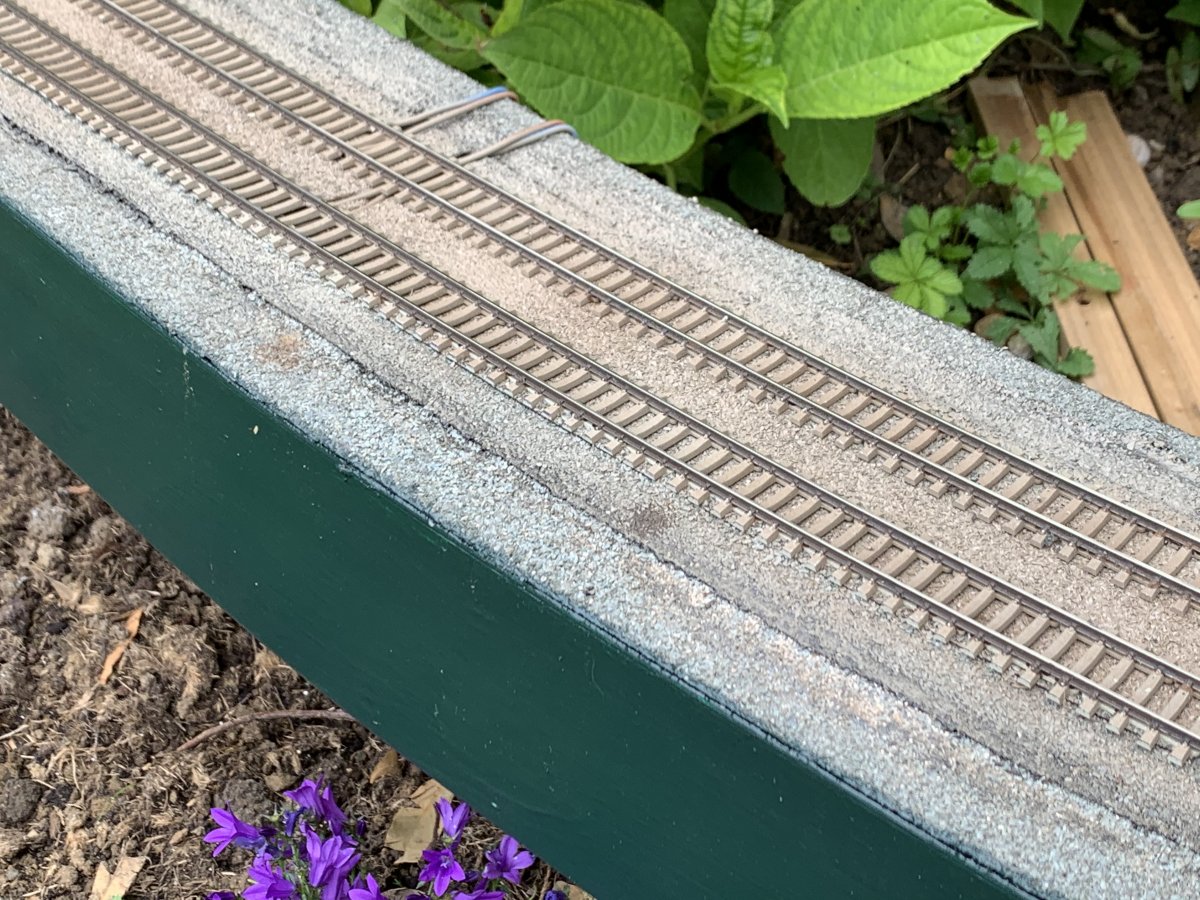
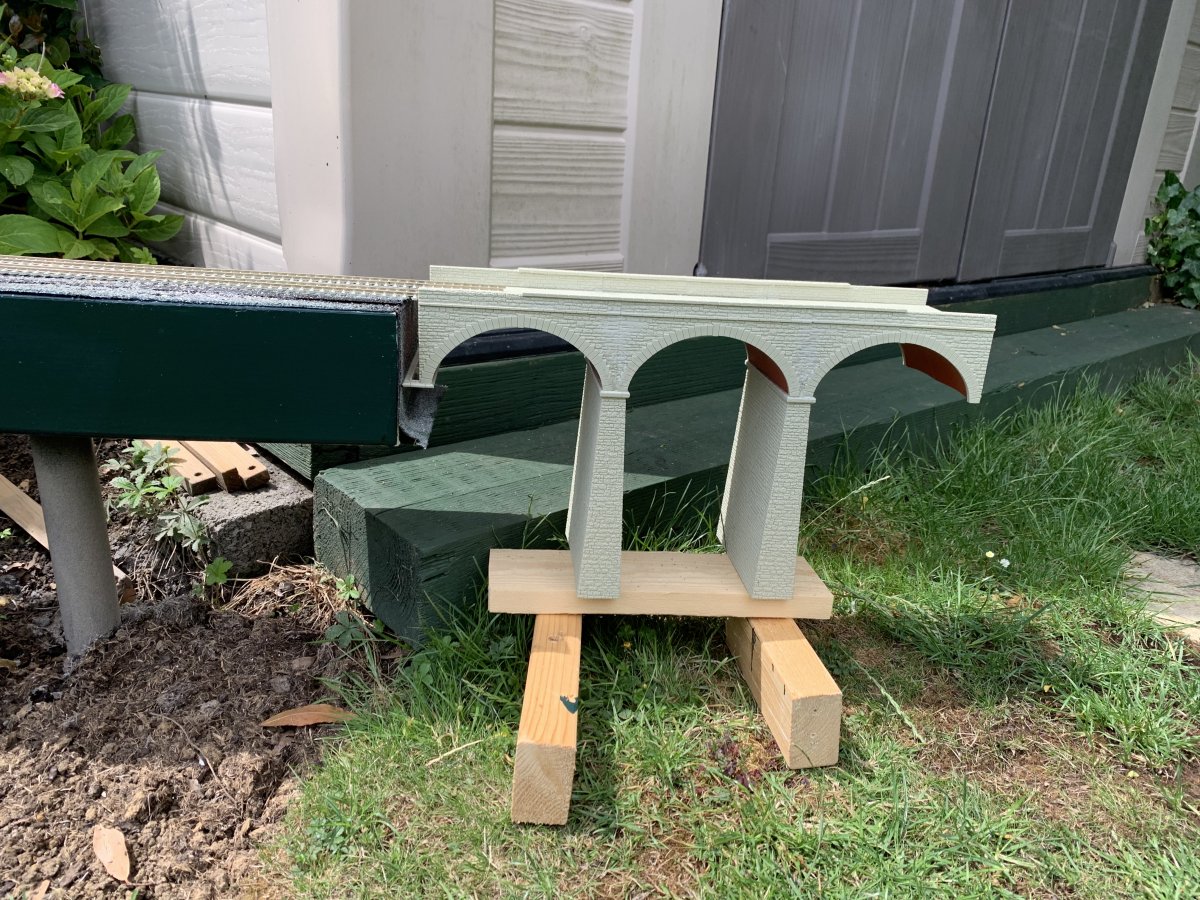
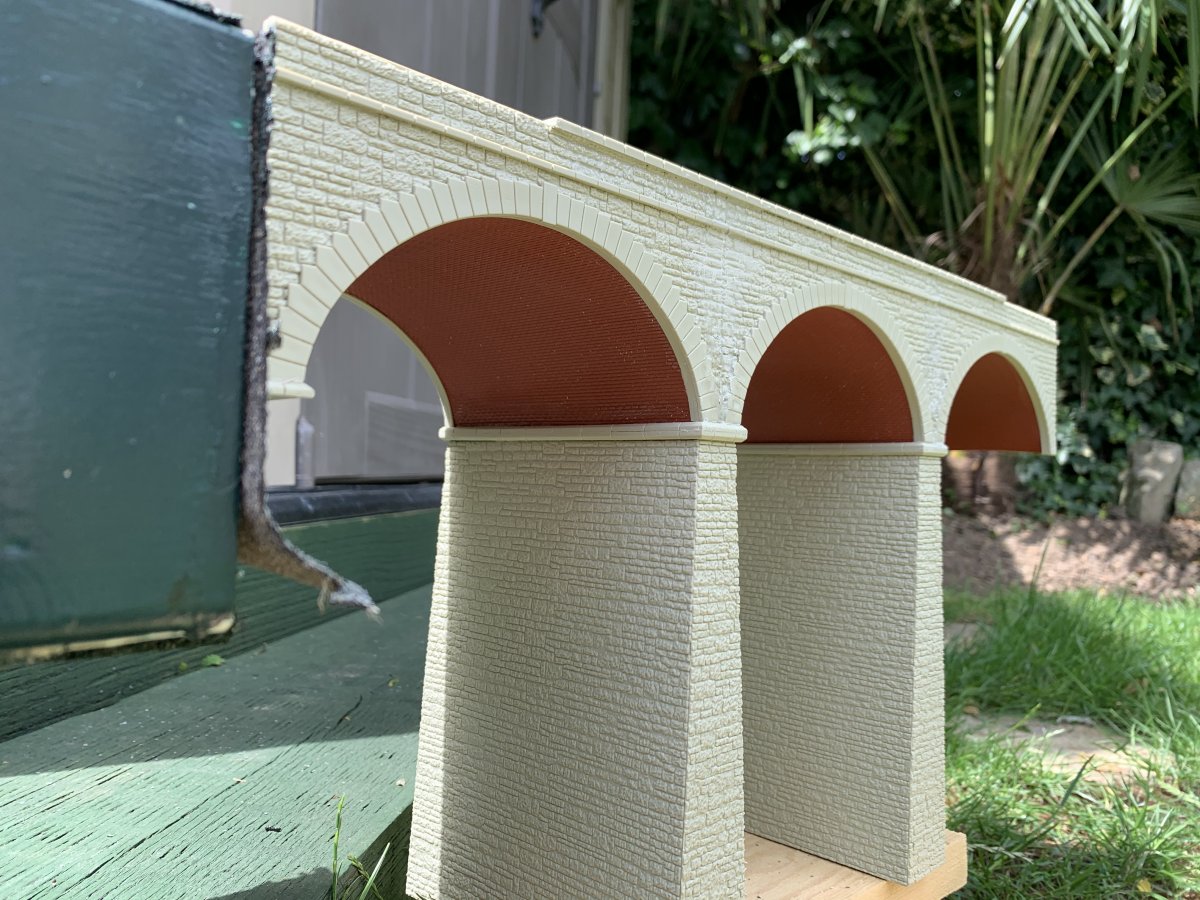
Test piece of track weathered and painted. The weather has been a bit rubbish over the last two days so I’ve not been able to do much, except make a start on the viaduct. This is a Wills plastic kit that I’m probably going to fill with resin. I need to extend the piers too. Hopefully I can get some more track laid soon.
-
Oak Garden - somewhere to run the trains!
scoobyra replied to scoobyra's topic in Members Garden Railways
I many only have 12’ of track laid but it doesn’t stop me playing trains!