shaung75
-
Posts
111 -
Joined
-
Last visited
-
Days Won
7
Content Type
Profiles
Forums
Gallery
Everything posted by shaung75
-
Saw this posted on our local Facebook page as Rippingale is just down the road from us, yours for a mere £600k http://home.bt.com/news/uk-news/converted-19th-century-railway-station-for-sale-for-600k-and-it-comes-with-its-own-train-and-track-11364061698597#.Vz7IOWVNjKp.facebook Here it is on Google Street View: https://www.google.co.uk/maps/@52.8398271,-0.3458887,3a,75y,10.67h,76.95t/data=!3m6!1e1!3m4!1s3MLieKPbXAhVjVfx1BEBJw!2e0!7i13312!8i6656
-
Well done Mick, great work
-
Peco do those too, spotted them when I was looking into expansion (SL-44). Although I don't know if they've been discontinued though as everywhere always seems to be out of stock...
-
Hi Trevor I've always wanted a garden railway and from doing my past research I've read that opting for OO gauge just wont work. Then I found this forum where there are numerous examples where this simply isn't the case and running OO is absolutely fine to do, and within the space of 3 months I went from the planning stage to having a (albeit small) garden railway. Have a read around here for tried and tested methods - there's been so much that I have learnt and so many things that I would have done wrong had I not done so. Good luck! Shaun
-
Obviously I don't have the experience of others with either the track or signal loss with DCC so take my post with a pinch of salt, but each of my DC loops is 29ft with a single feed each and it runs fine. So in theory it should be fine to do, but personally I like the idea of having the bus wire there for redundancy. Having a dropper on each section of track is going to involve no more soldering than soldering each joint if you use IDC connectors to link up to the bus (I think that's what they're called, image below) I wouldn't want to lay the track loose either, certainly not with the peco track I have anyway - far too floppy. If I was thinking of laying it loose I would probably opt for something more rigid like the Hornby semi-flexible track. What about just putting in a pin at either end of the track rather than along the length? The joints are the weakest link of the layout so if a member of the local wildlife does get snagged, at least they're protected
-
I fancied a bacon sandwich for lunch so popped up the road to our local farm shop (as they sell the best bacon in the world) and as they also double up as a garden centre I ended up walking away £10 worth of plants as well. This is one of the main reasons I was attracted to the hobby out in the garden rather than up in the loft, good looking scenery added for very little time, effort and cost - I'm amazed how such a little thing can start to make a rough looking layout start to look so much better

-
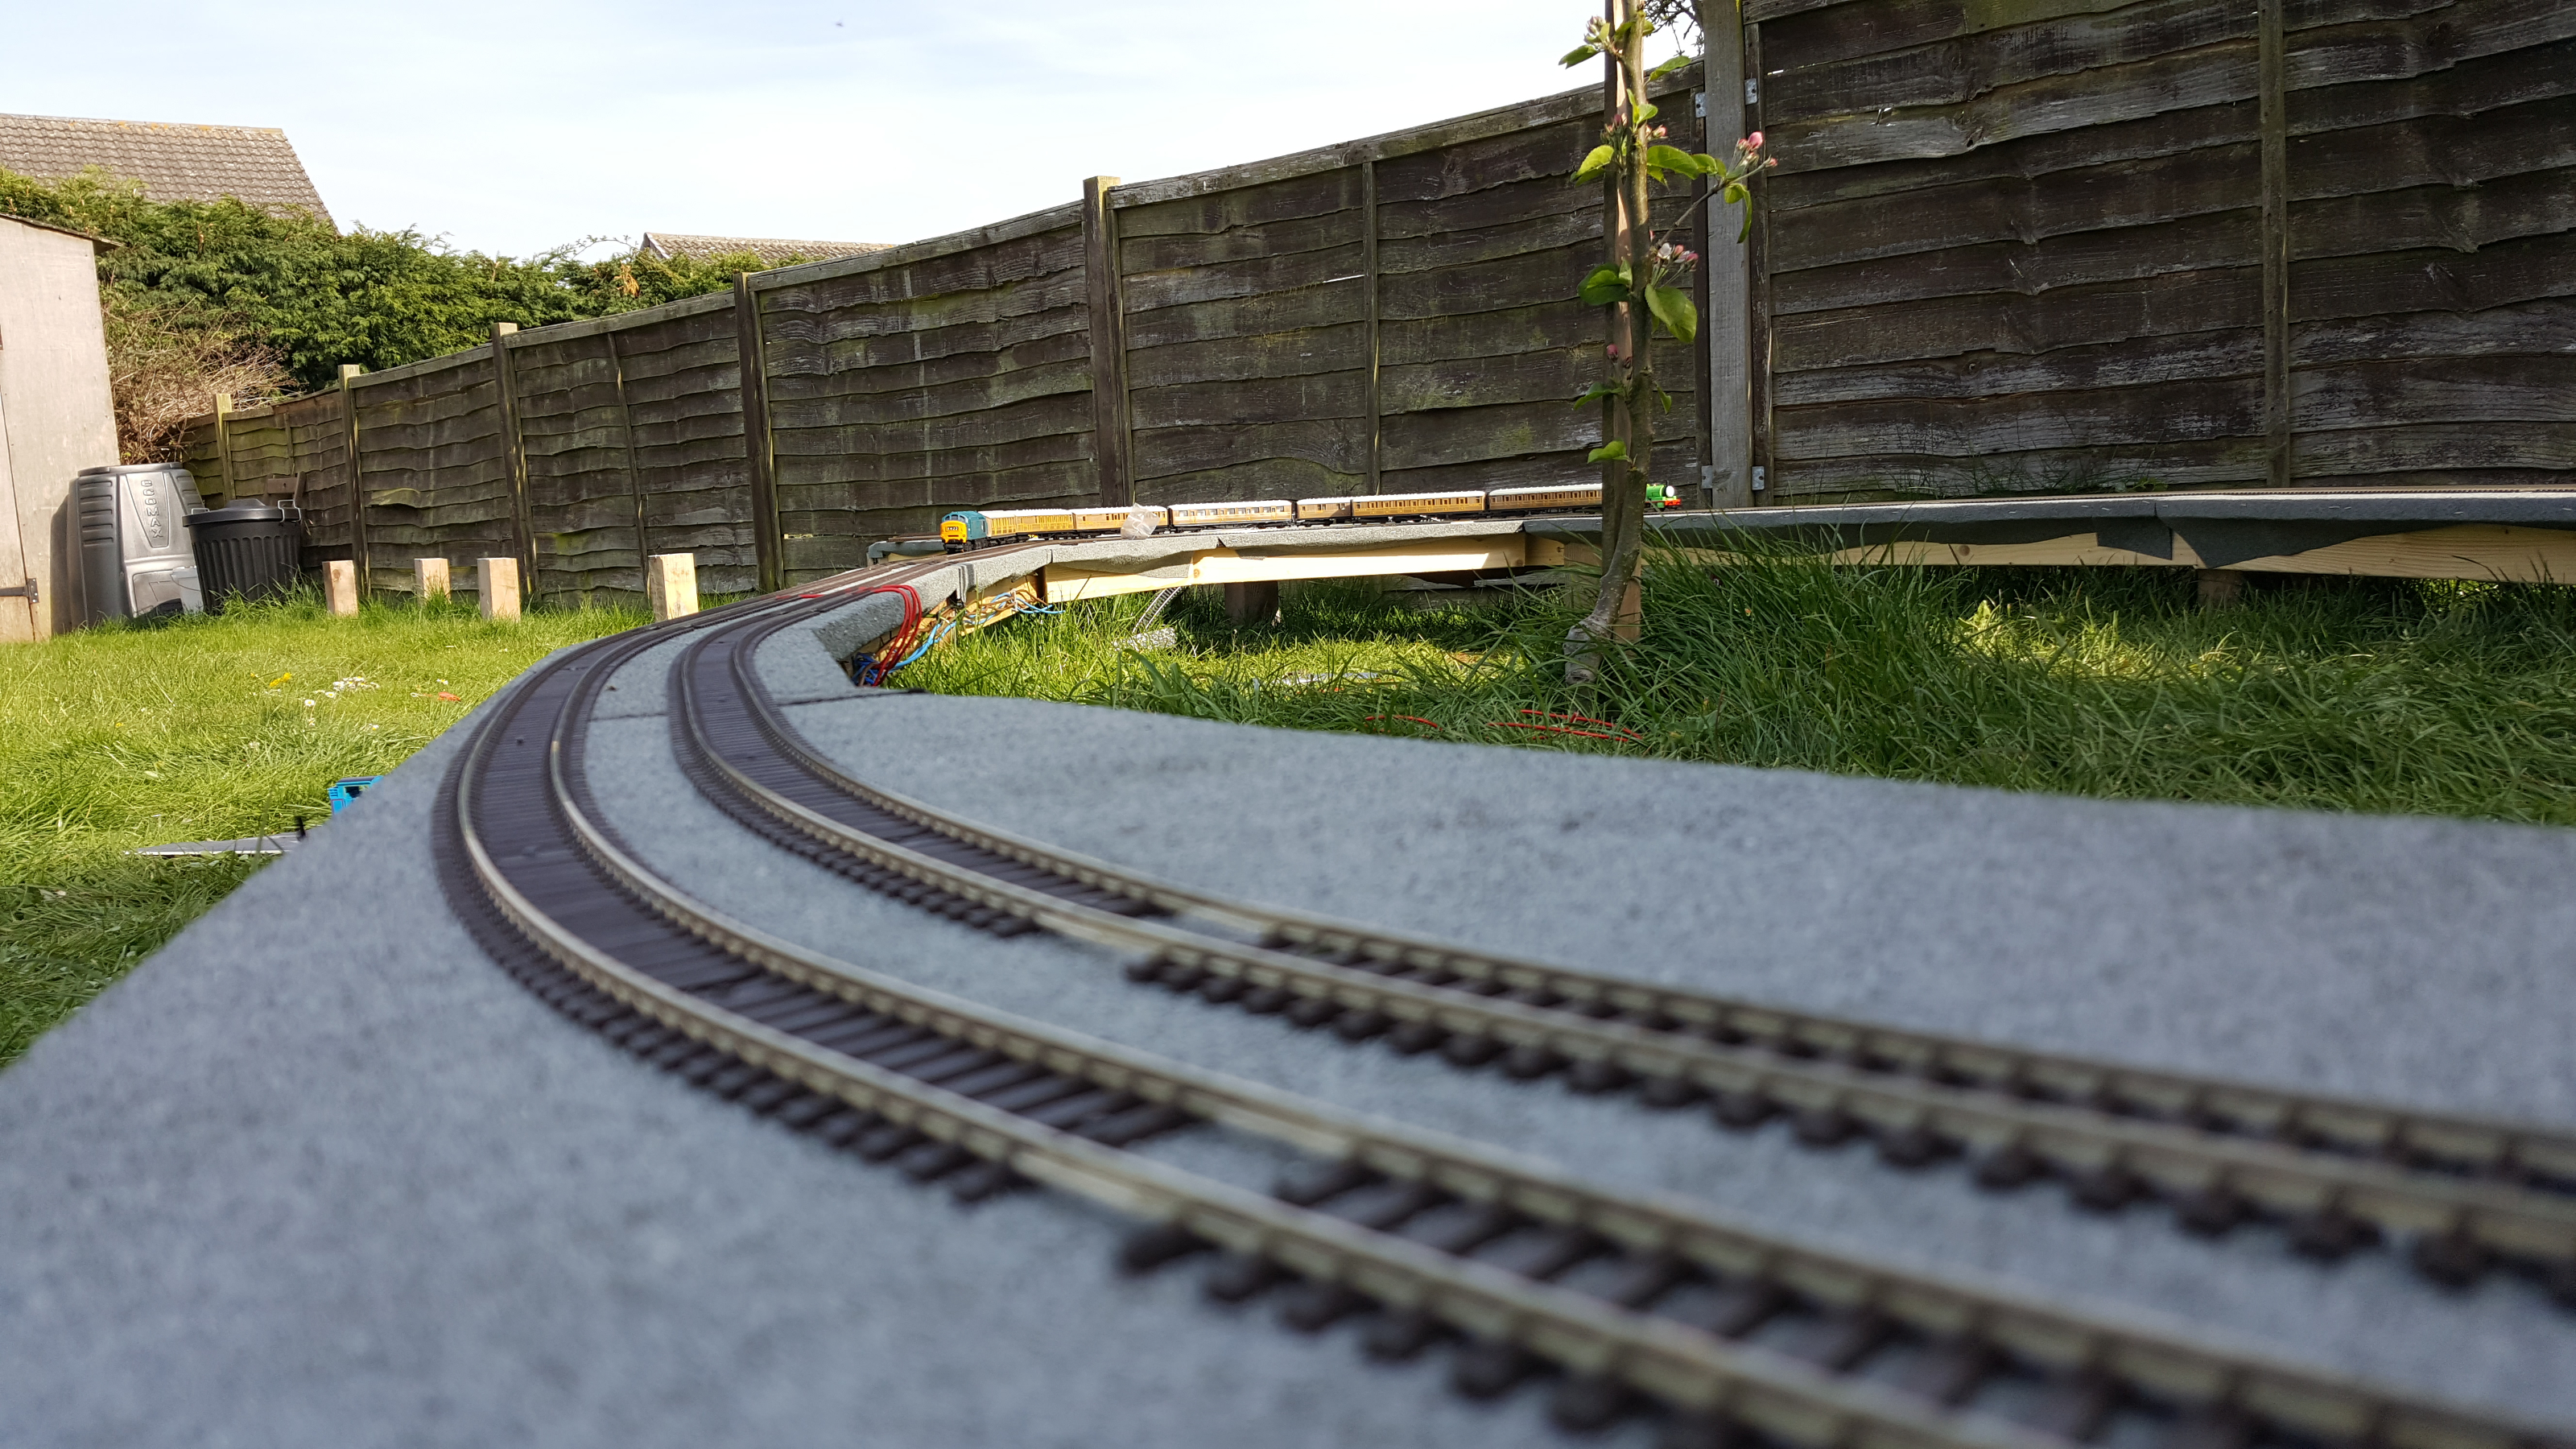
I think it's just my OCD coming out since seeing the onboard. As I said before, when looking from above as you would normally the curves look absolutely fine - I think I'm worrying over nothing. Like you mention, the camera exaggerates things and as it was only cheap (£5 off amazon) the field of view isn't brilliant either. To be honest, if it wasn't for the fact that I want 4 lines going through the station (I want somewhere to 'park' the trains on view) I would use the whole width of the boards and smooth the curves out a lot more. I was thinking about using 3 lines with 'Y' points to smooth it out a bit, but that brings in the possibility of collisions. I used the Peco gauge thing with streamline spacing and it gives just enough clearance on all but one bit of track. Even then it is such a small glancing blow it doesn't affect running, and thankfully it's on a section of track that's going to be replaced with points so I'll address it then. I ran trains in the opposite directions for 10 minutes and they were only at that spot once during that time so I'm not going to worry about it too much for now
-
Thanks Riddles. I didn't think about just removing the chairs of the sleepers to be honest, will remember that for next time. All of the removed sleepers have been kept though, I just didn't have time to fill them in before Ben came home. I'm happy with the way the main straight flows but I'm not so sure about where the station is going to be - if you watch the onboard shot its a bit "sharp left, straight, sharp left, straight, sharp left". You don't notice it when viewing normally though, but I'm still unsure about keeping it that jerky in the long term...
-
Bleugh, hadn't thought about that I guess as I always had at the back of my mind I was going to wire for DCC with droppers I wasn't going to bother with bonding, but I suppose as I'm running DC for the short term then I better had. I guess I shouldn't moan too much, at least it'll be more reliable in the future with droppers and bonding. Cheers Chris
-
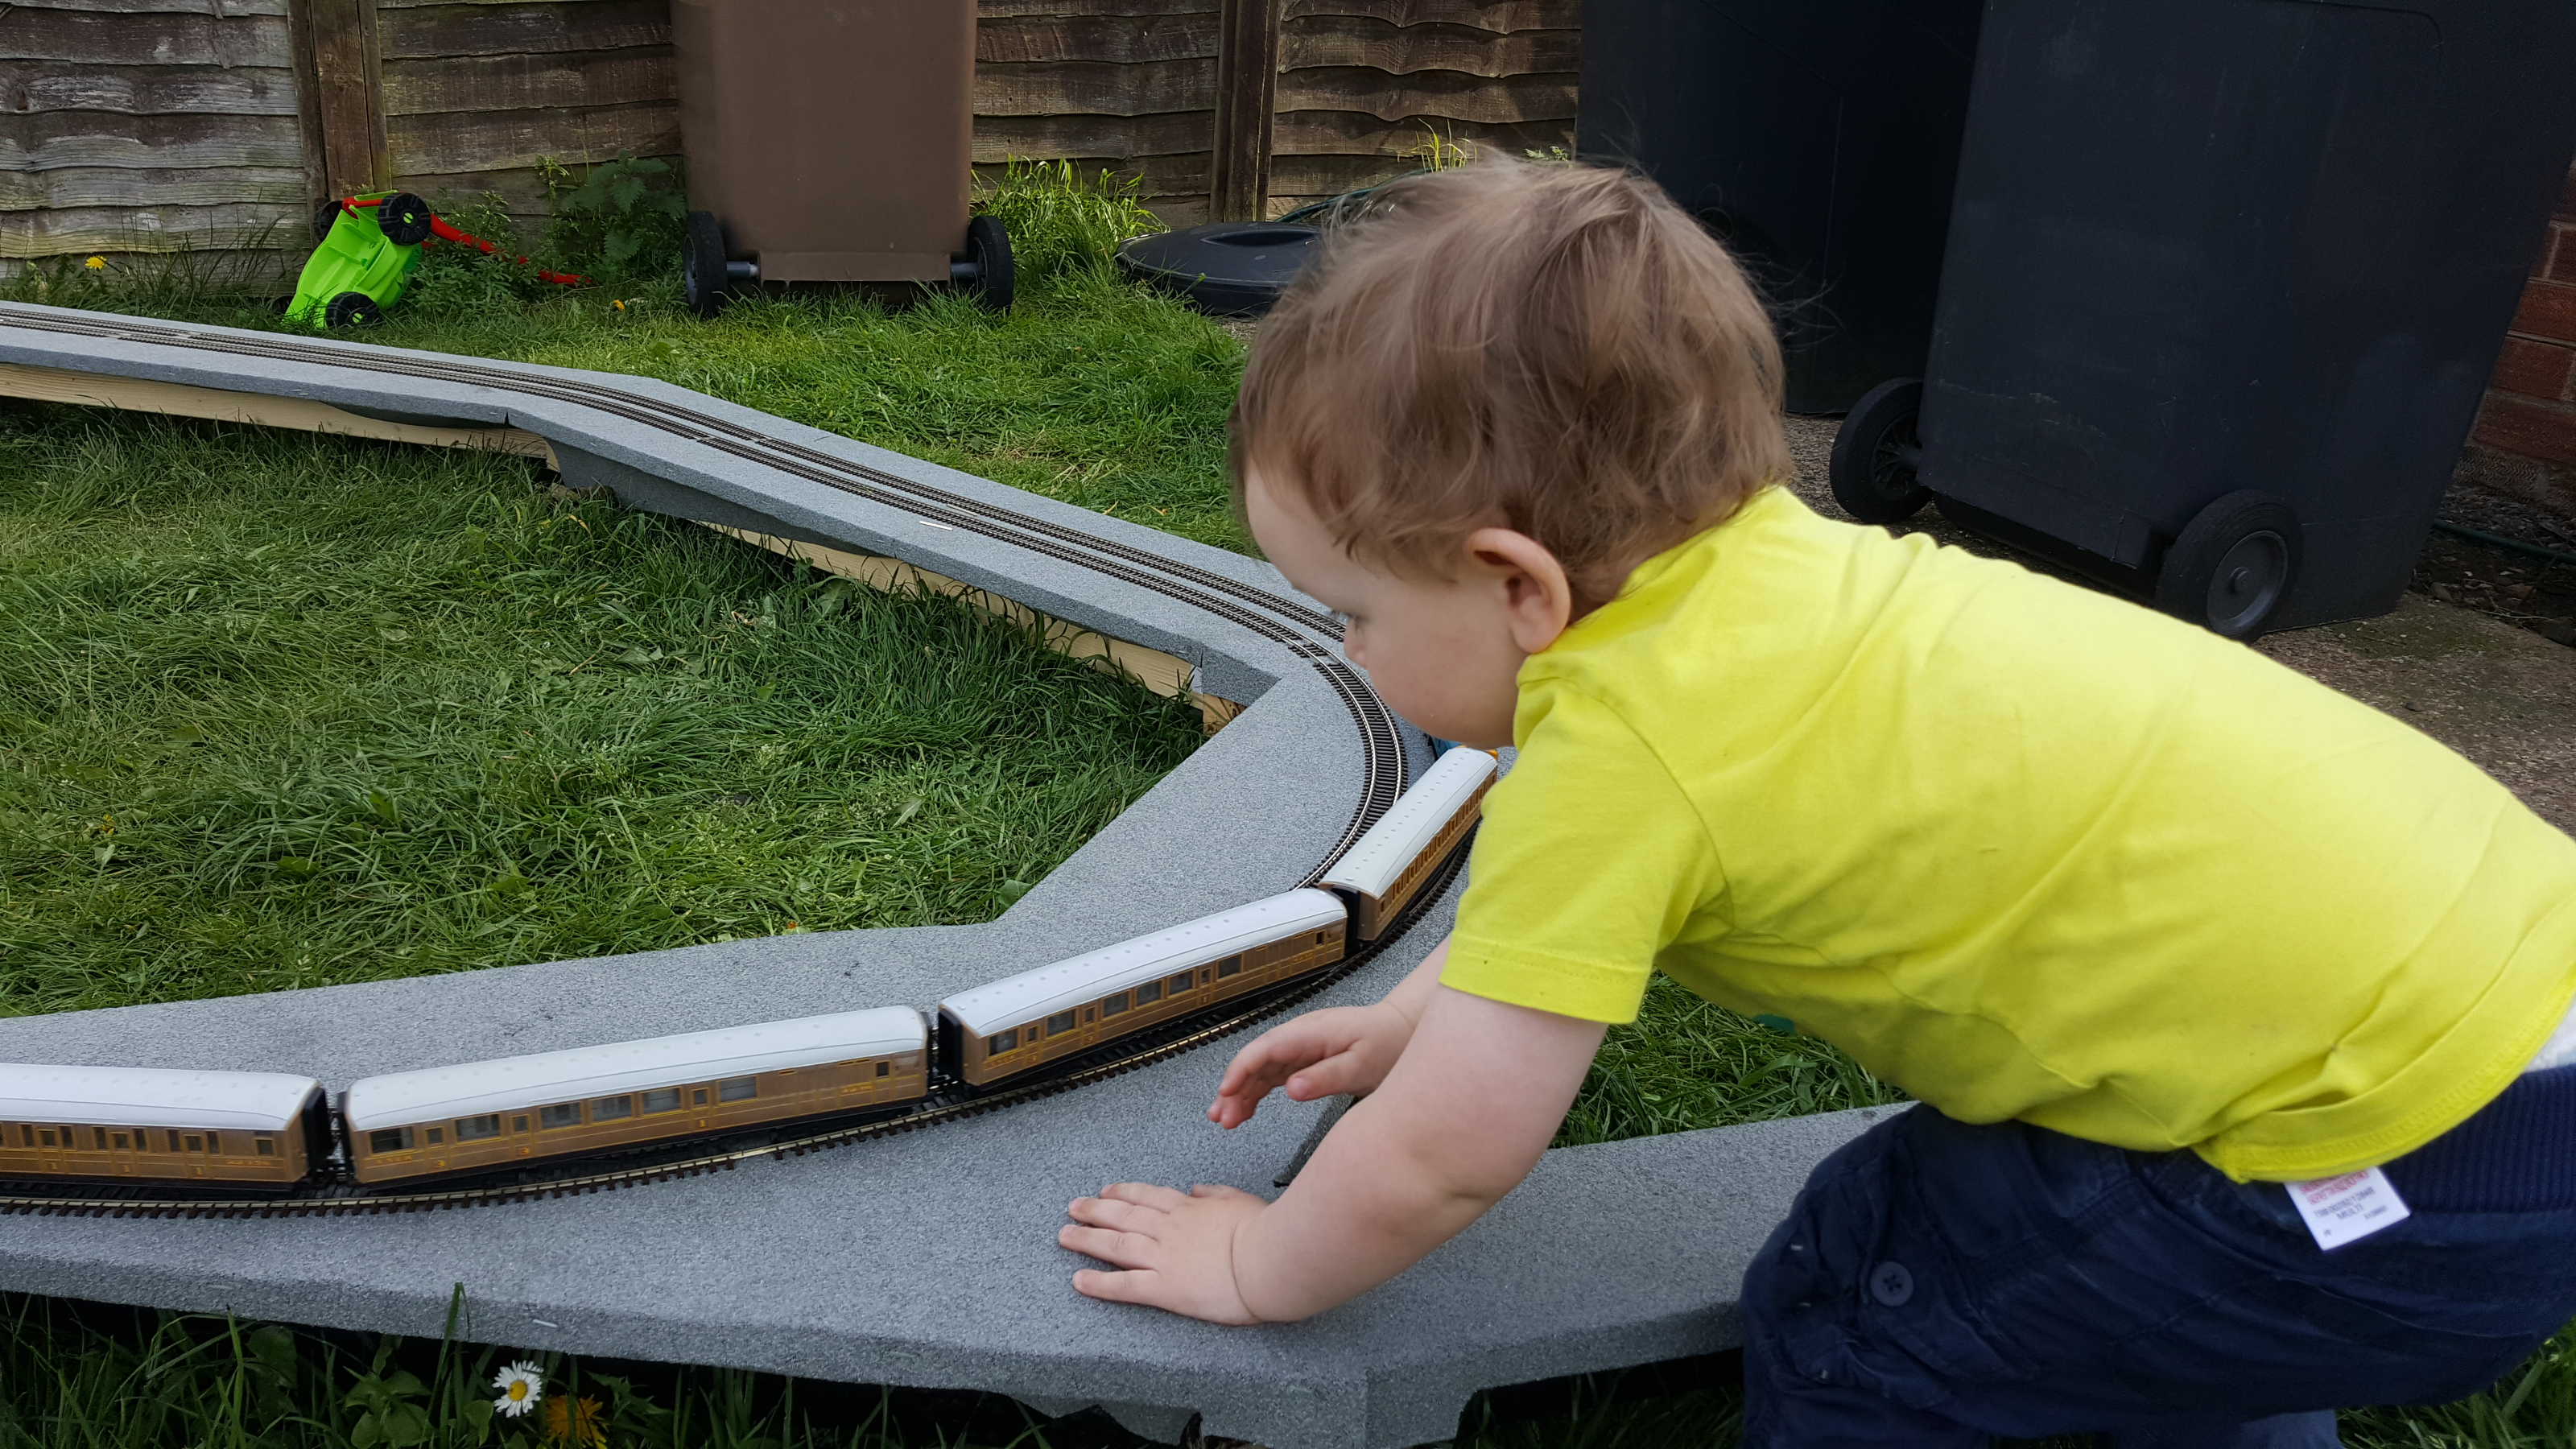
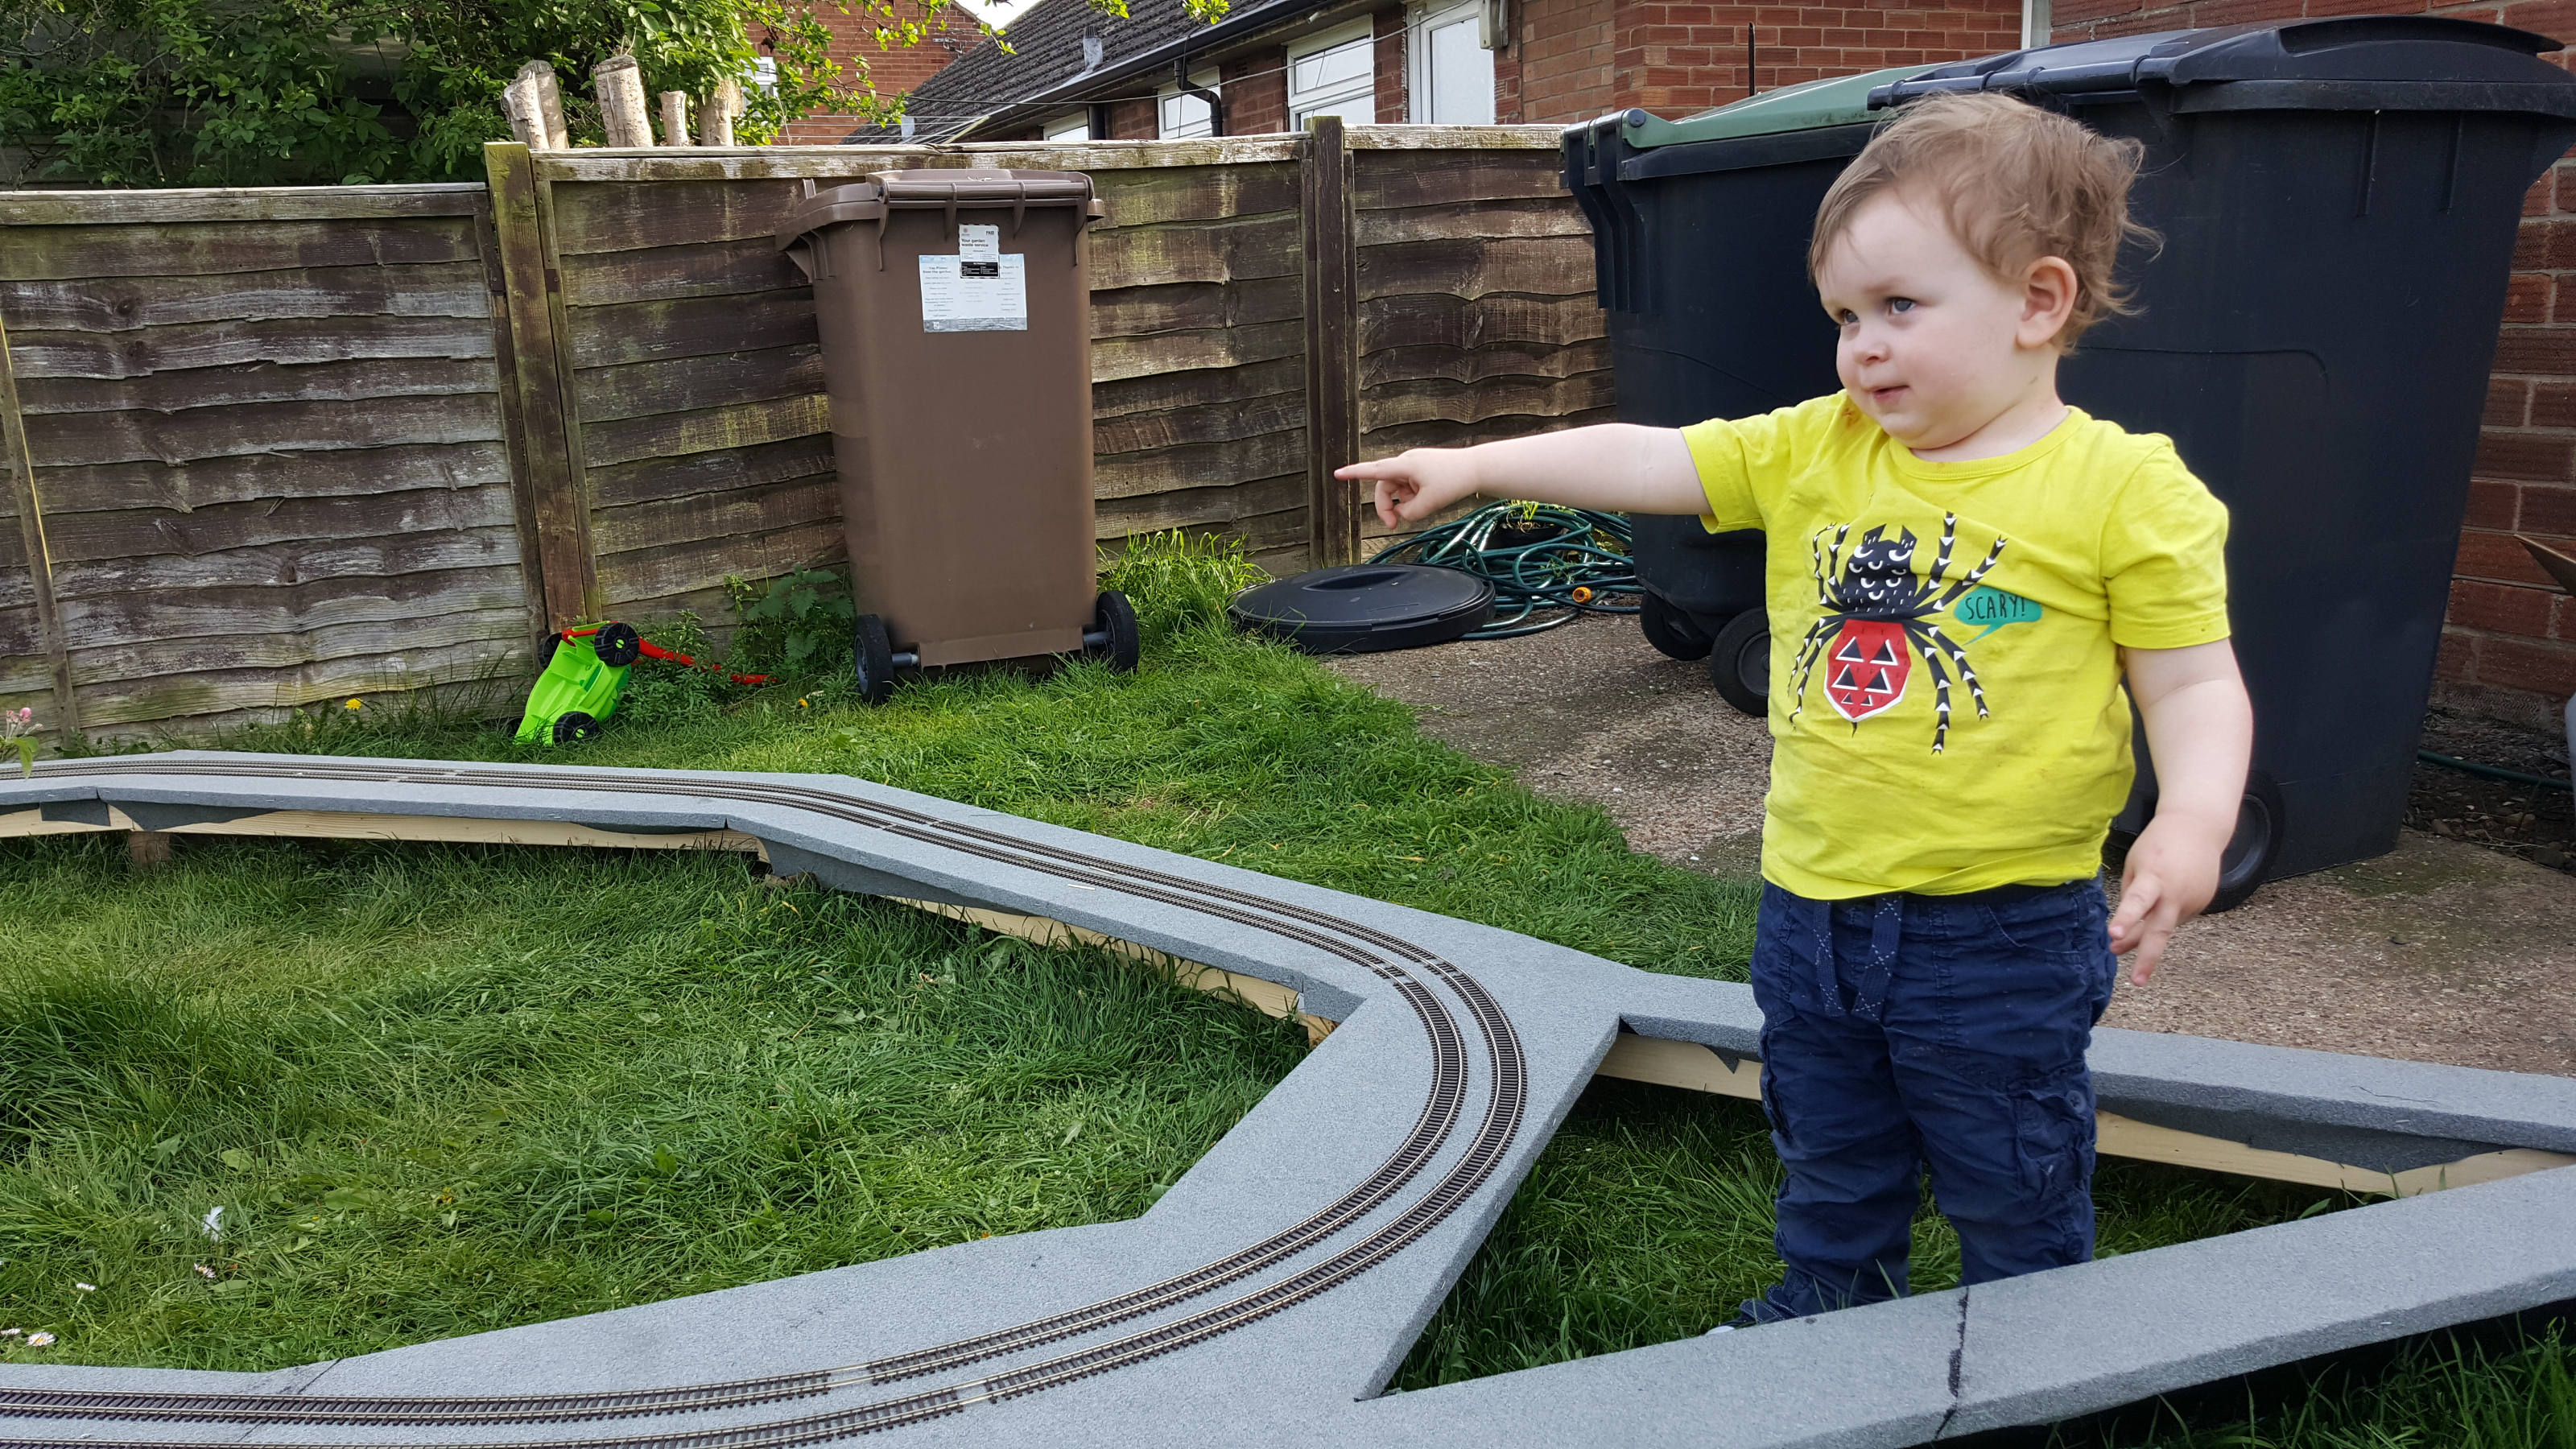
A drone is another wish-list item Following the technique yourself and pppp have mentioned I've managed to lay the whole lot kink-free thankfully. Glad I found this forum otherwise I wouldn't have know about that. Thats me done working on the layout for a few months, I need to do some other jobs around the garden that have been neglected because of this. Also need to gather the cash together to get the points and some more track - the two loops used nearly 60ft which was more than I was expecting! Ben has just seen the trains running and the look on his face made the sunburn worth it
-
Great work Mick, finish line in view!
-
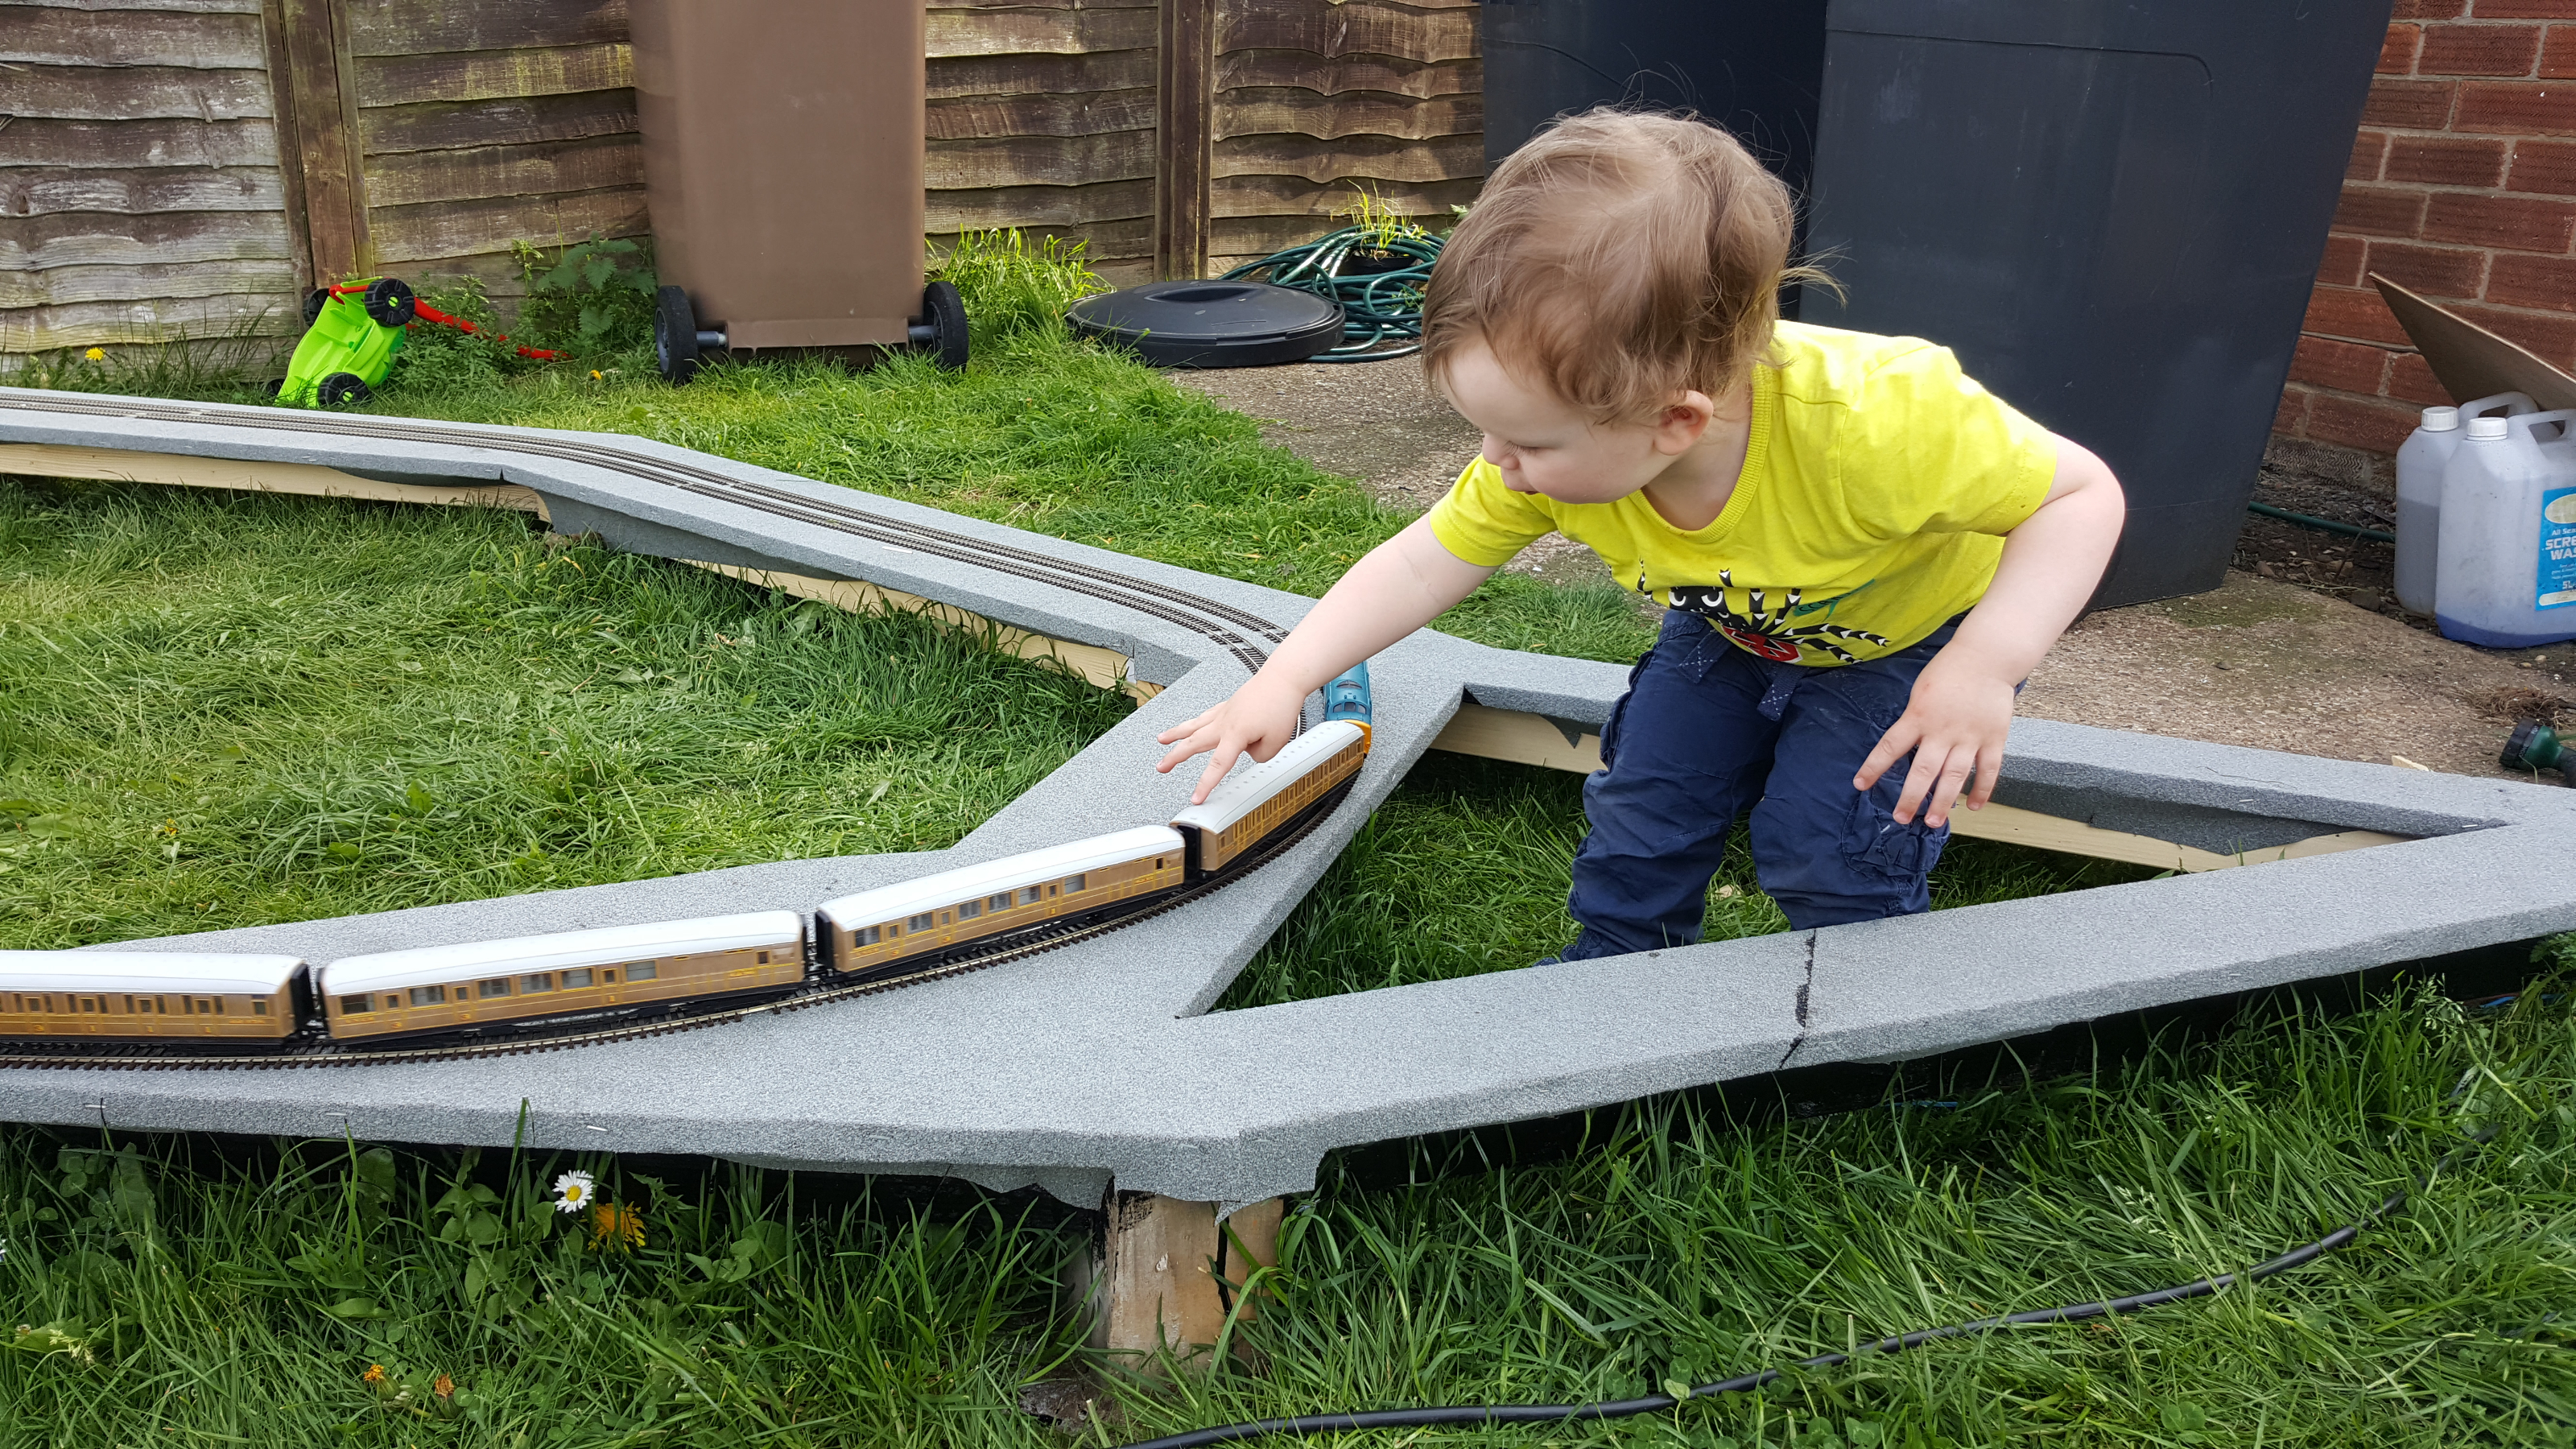
It's official, I finally have a garden railway!!! Well, as the lines don't actually go anywhere at the moment it's more of a trainset in the garden, but still I can't believe it took my longer to actually lay the track than it did to felt the boards, there's certainly a knack to the flexitrack
-
Thanks Mick I agree about the coaches putting the size into perspective, I've been working on it for weeks and kept wondering if it was going to be big enough and was worried that the station area wasn't going to accommodate 5 coaches. Still need to have a think about how I'm going to fix the station in place, but that can come later when the right hand side has 4 lines laid. One thing I have learnt from today though is to keep junctions simple - felting the wye junctions was a complete pain! No chance of that happening tonight, he understands that the models aren't toys and is happy to just watch them go round on his trakmat layout, but if he has them in his hand rather than on the track he gets frustrated when he can't push them like his other toys and has a tantrum! These were firmly packed away by the time he came home
-
Huzzah! The trackbed for Phase 1 is now officially complete! Not having any experience doing this kind of thing before I'm surprisingly pleased with myself - all but one bit of felt (clamped down at the other end) has bonded nice and flat first time. Right, coffee and then to give the lawn a long overdue mow before the wife and boy arrive back home. Track laying tomorrow
-
Great news Mick. The weather is looking good for the next few days, well at least I hope it is anyway as I've booked off today and tomorrow to work on my layout because of it! Look forward to seeing your next update
-
Perfect, thanks!!
-
Were these any good Mark? Thinking of hunting a pair down for my lad.. Cheers Shaun
-
Nearly the same here Tony, I paid £29 per sheet for "exterior" grade ply whereas the marine ply is £49 ($55/$94aud). I opted for this as it appears to work well for Mick's layout and for the simple fact the price of the marine ply would have meant the garden railway would have remained a dream. I've given it a few coats of bitumen so it should do alright, and if it doesn't, if it only lasts a few years I'll be happy. I've seen a few OO videos on Youtube where the wood is virtually rotten and they're still running well, so I'm optimistic it'll last anyway Have fun at the show, let us know how it goes
-
Thanks Mark Typical - the wife grants me an all day pass to work on the layout, and rain stops play at 1pm Still, progress is progress I guess. I was hoping to get as far as felting the boards today but only managed to brace and fix the right hand side, and make a start on the closest return boards. Wednesday and Thursday are looking like good days so I might book those off to get that completed. Aimee (my wife) set me the challenge to have something running for the boy's birthday in 2 weeks time, once the felt is laid I can just come out in the evening to potter and lay the track.
-
Thanks Mick - there's a video on youtube (Jenny Kirk I think) where she uses an old roller so that was definitely the plan. I was just concerned about adhesion more than anything, but if that's what works for you then that's a good enough answer for me! Cheers
-
Sorry for resurrecting an old thread, but it seamed daft having two with the title of "Roofing Felt" Hopefully I'll be at a stage either this weekend or next to start applying the felt and I was wondering the best way to fix it in place. I have already coated my boards in bitumen paint and was thinking that I would just apply the felt with bitumen adhesive, but now I'm worrying that the adhesive won't bond to the boards. Am I worrying over nothing and this is the way that it should be done? If I were to just lay the felt with clout nails, I'd be worried about the felt bubbling over time Cheers Shaun
-

A small garden railway - Advice needed
shaung75 replied to webba's topic in Layouts In the Planning Stage
It's a shame about having to remove the pond as that would have been a perfect location for a ground level layout. I feel your pain though as my plans of having a pond were slashed when our little chap came along. For me, if I actually wanted to run trains in that space then I would seriously consider including a loop as it's quite a small space for an out-and-back - you'll be constantly changing directions on the loco. If you just wanted it to look like a railway in the garden, then landscaping in a single line (or two) could look really good. My thoughts anyway. Personally, the idea of having a garden railway is all about running trains so I would probably try and incorporate a dog-bone type layout - forgive the dodgy photoshopping, but something like the below. This way you can leave a train meandering around the layout while you sit back and enjoy it
-
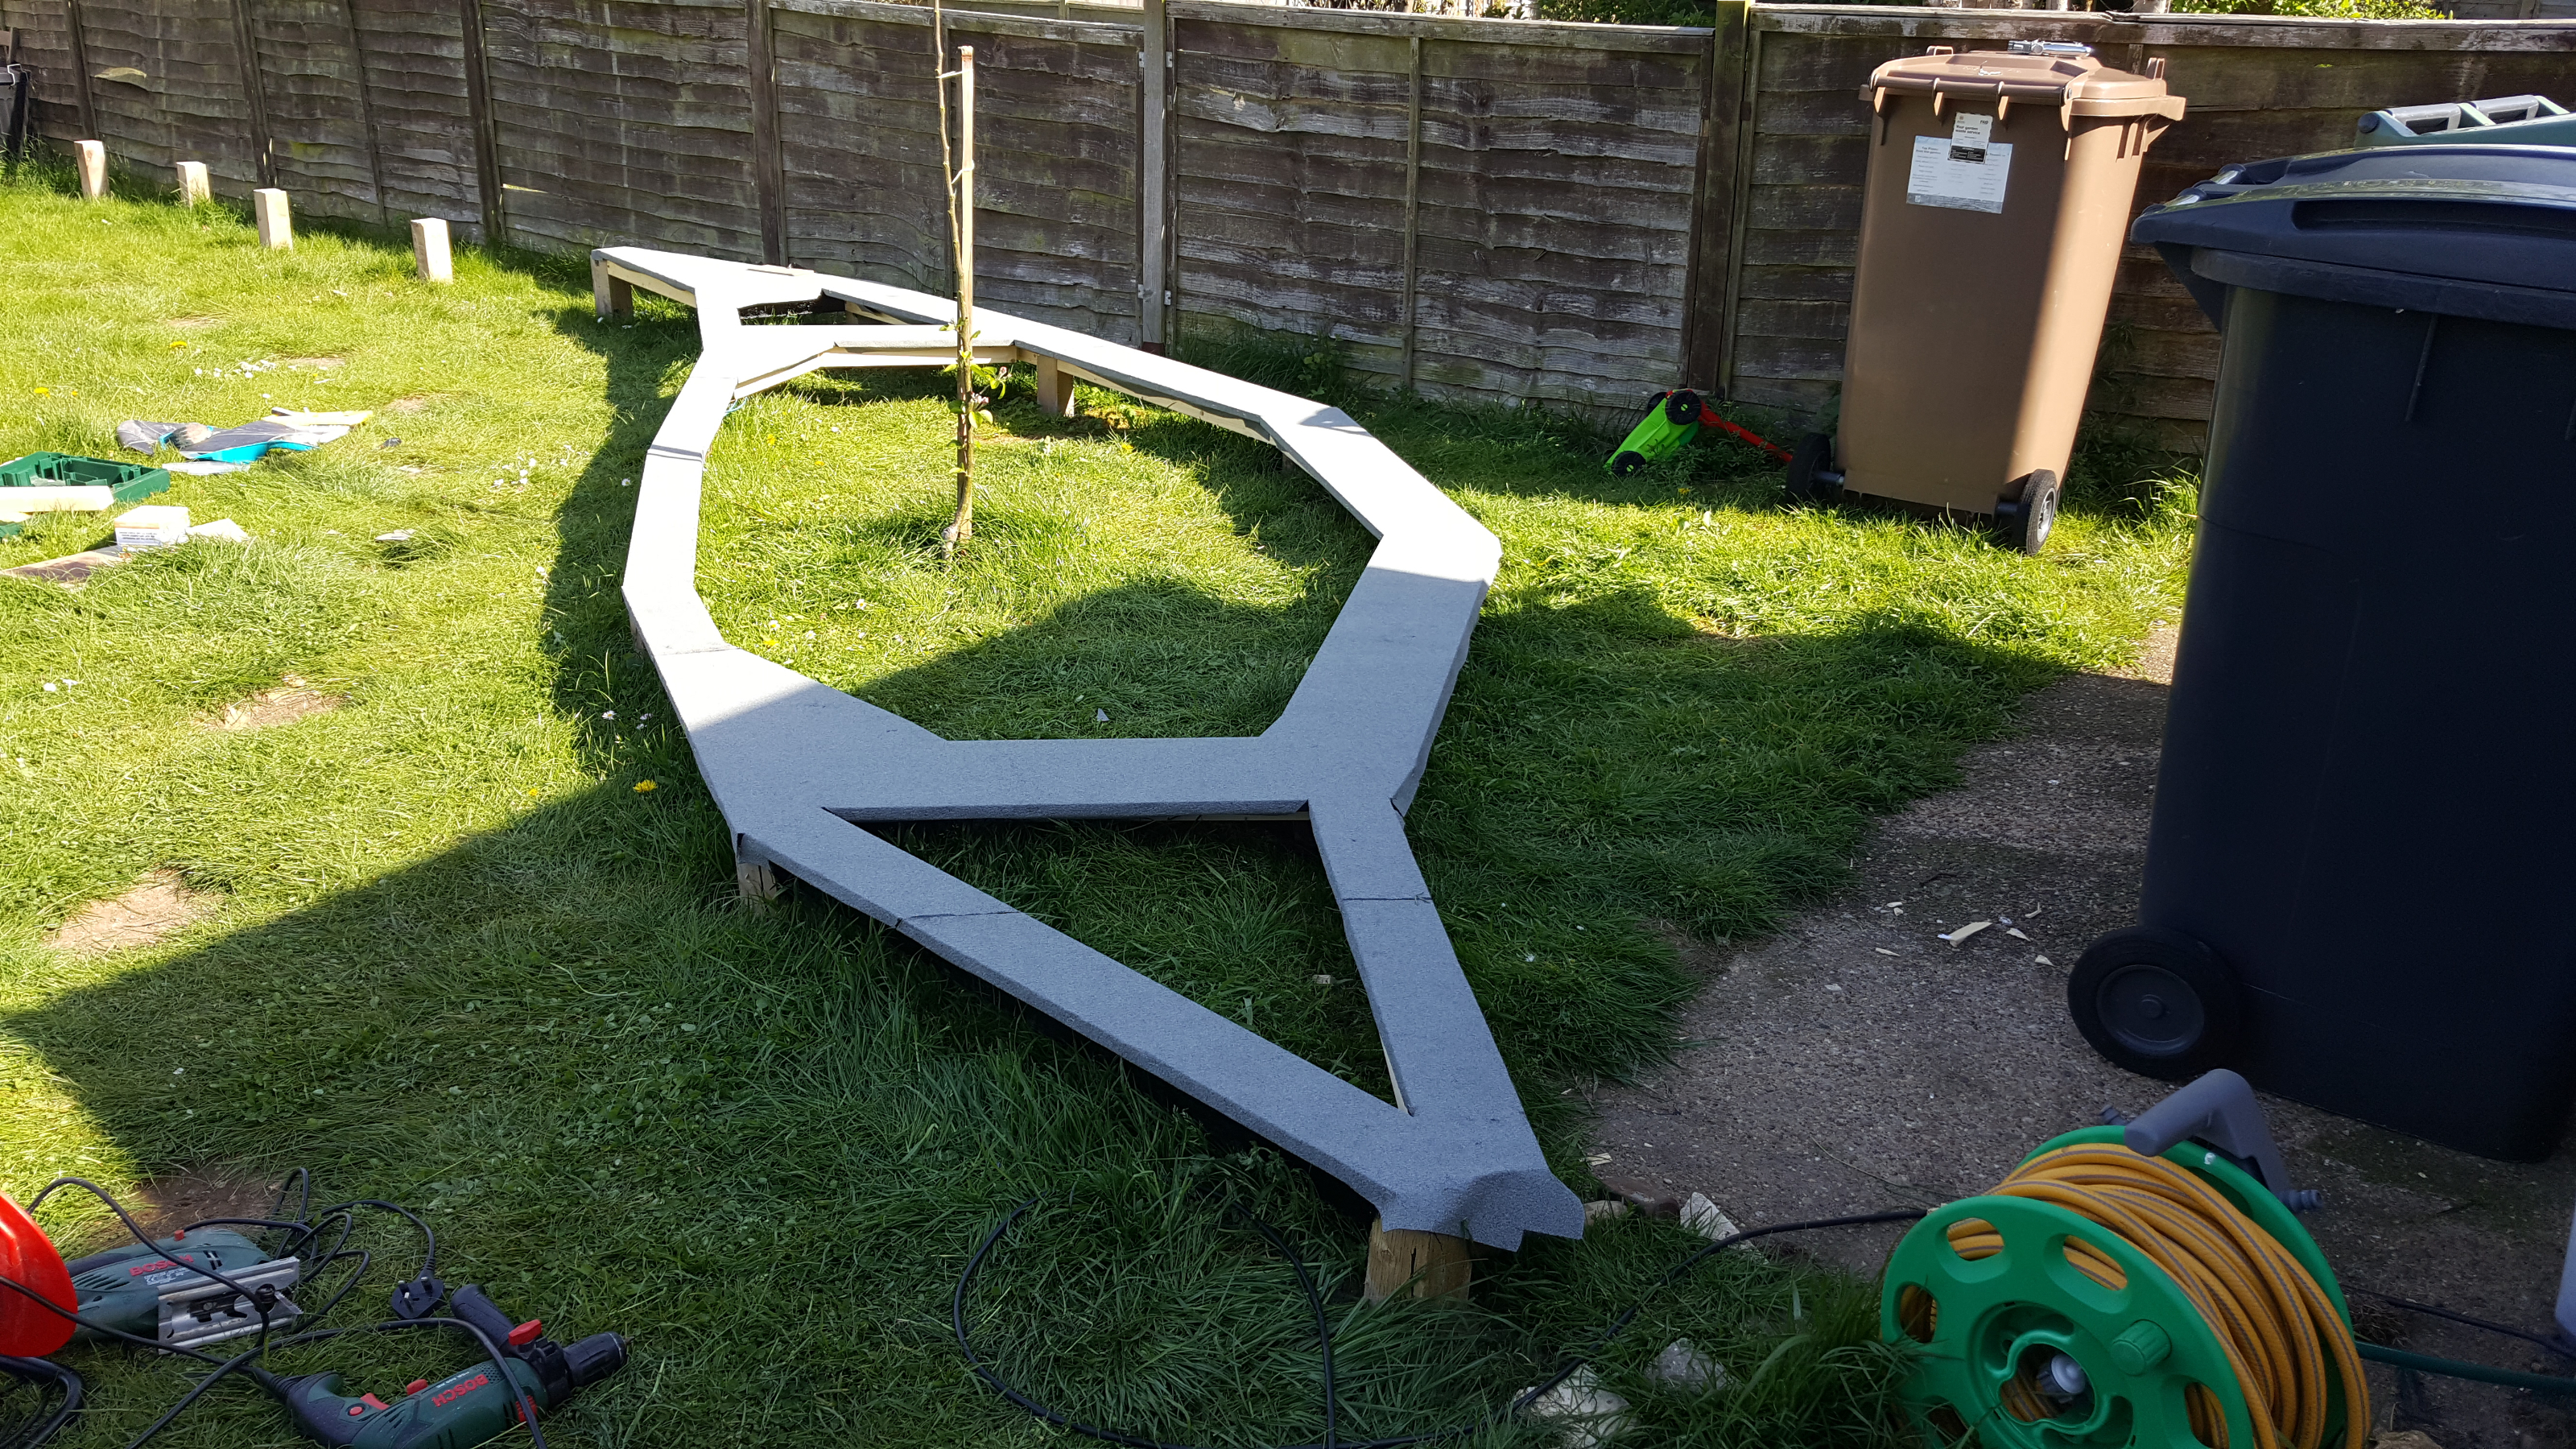
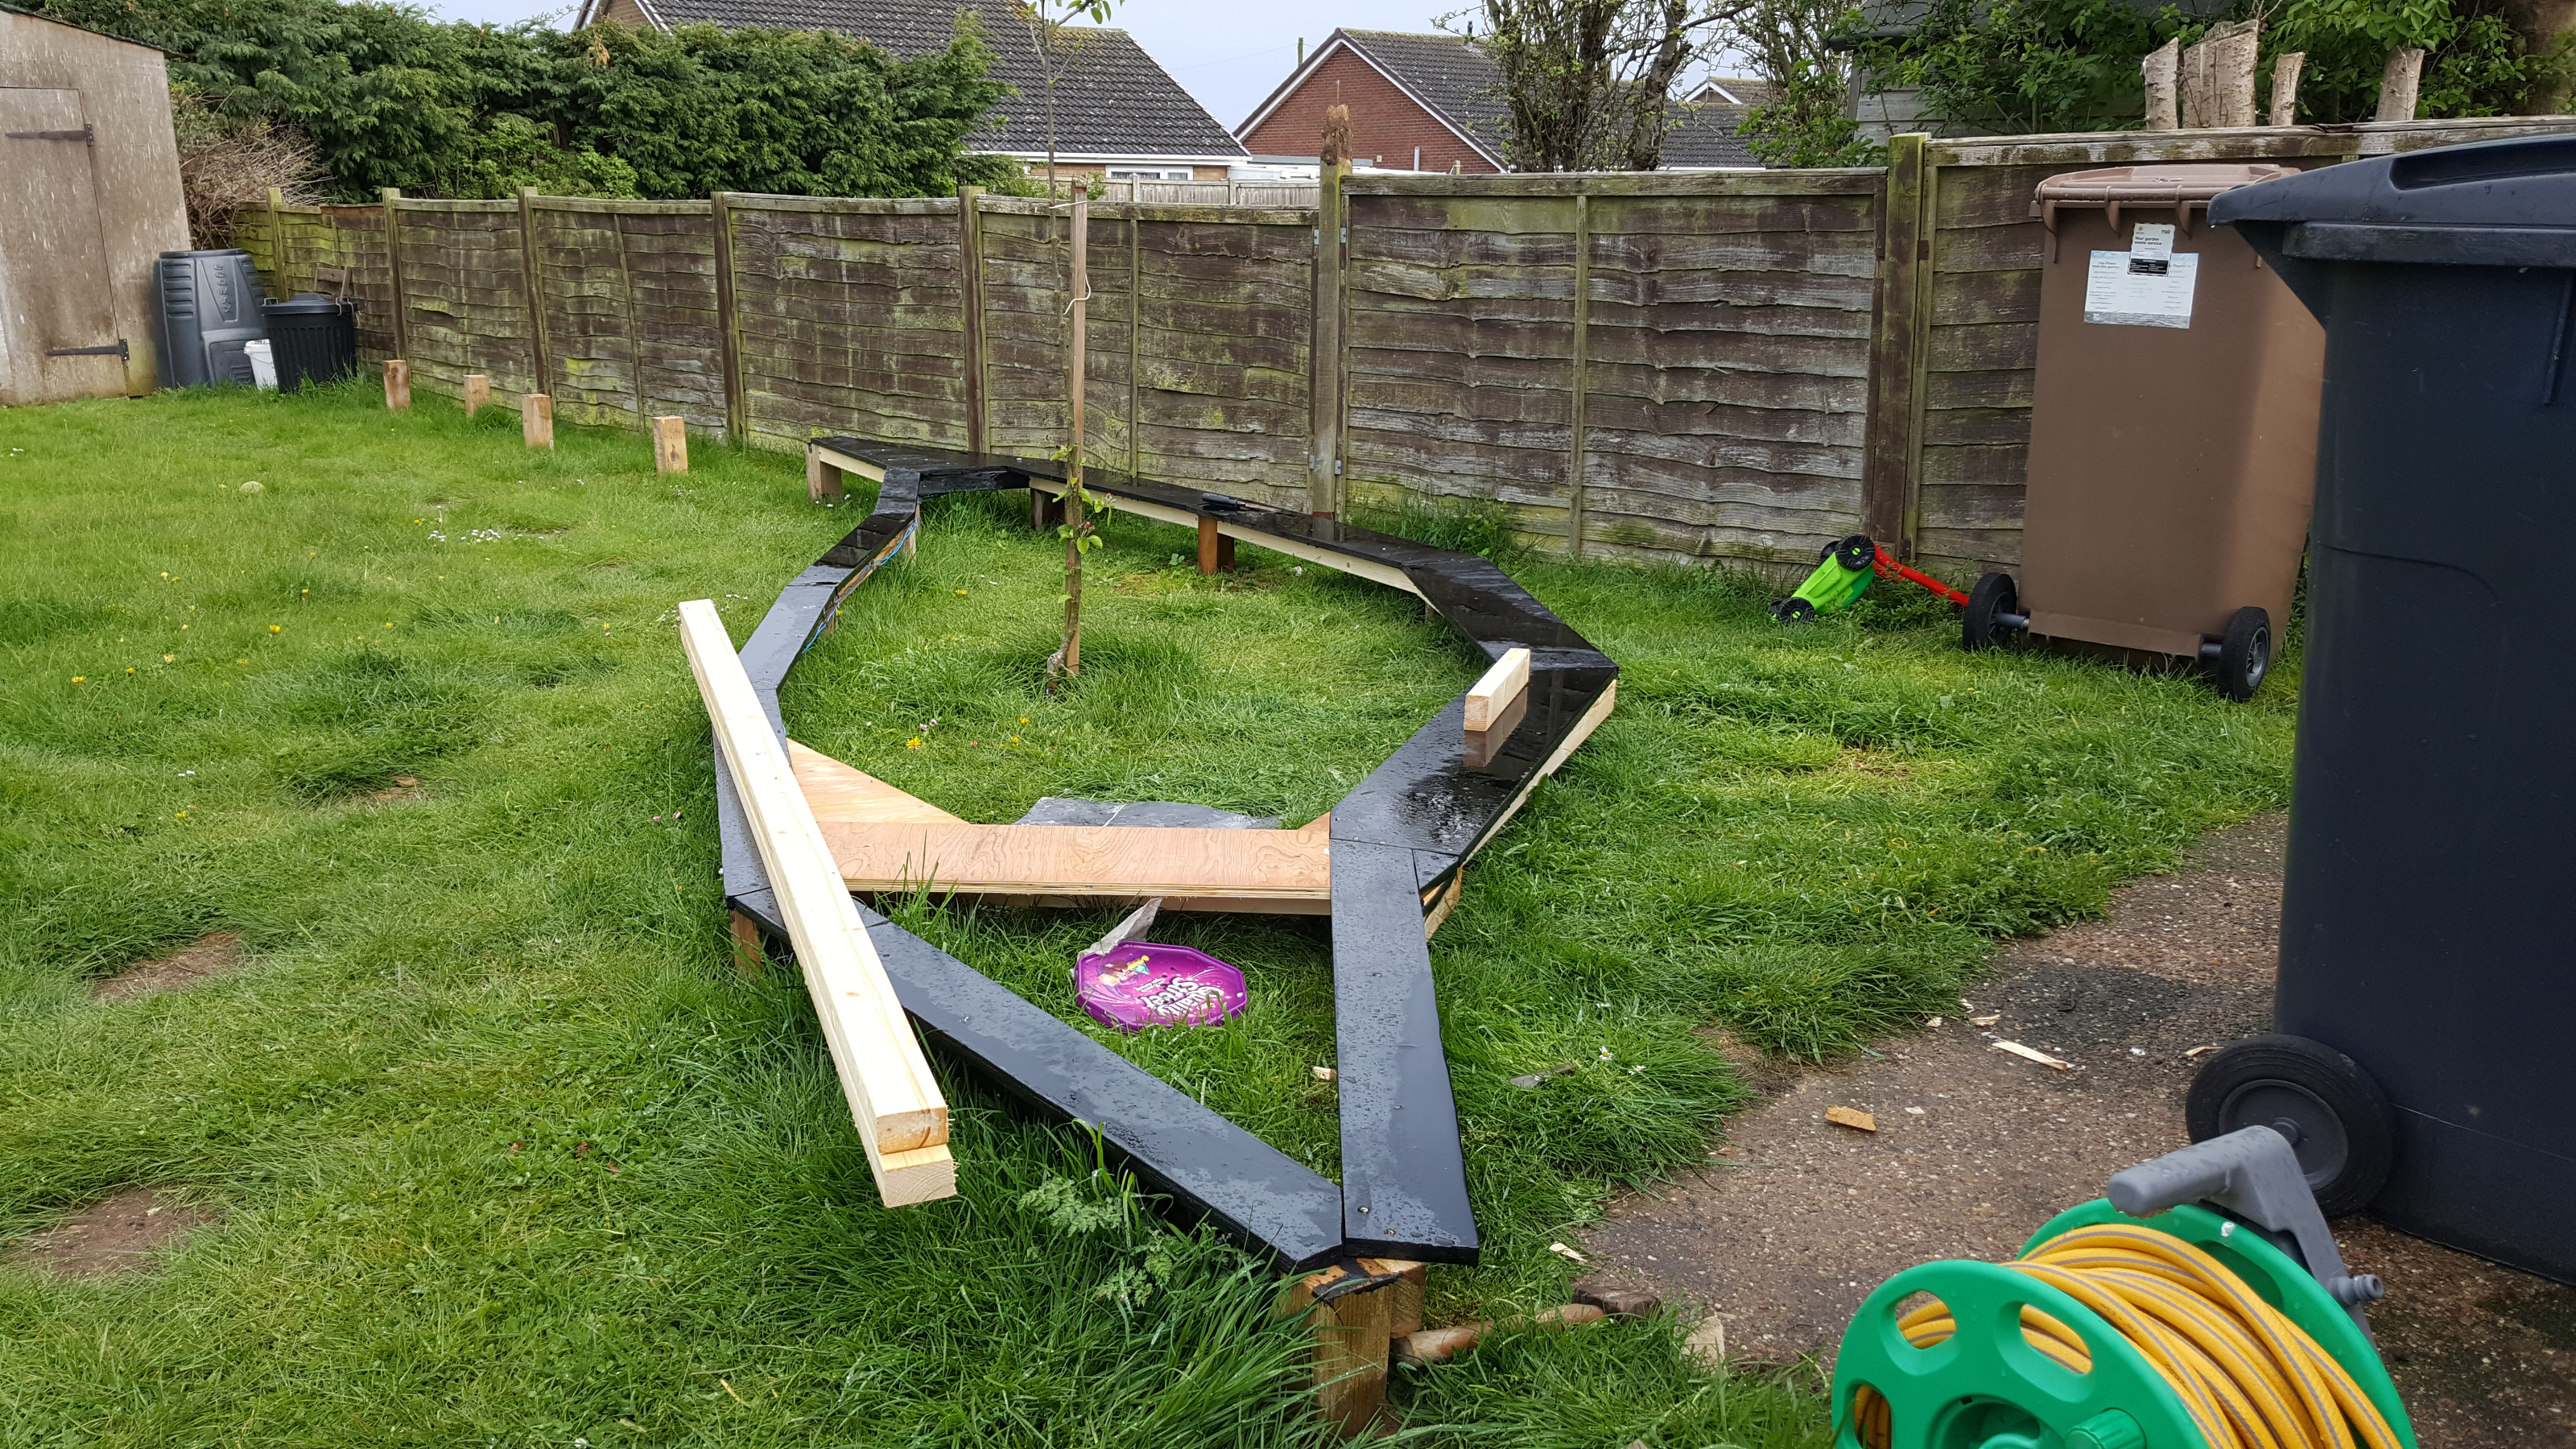
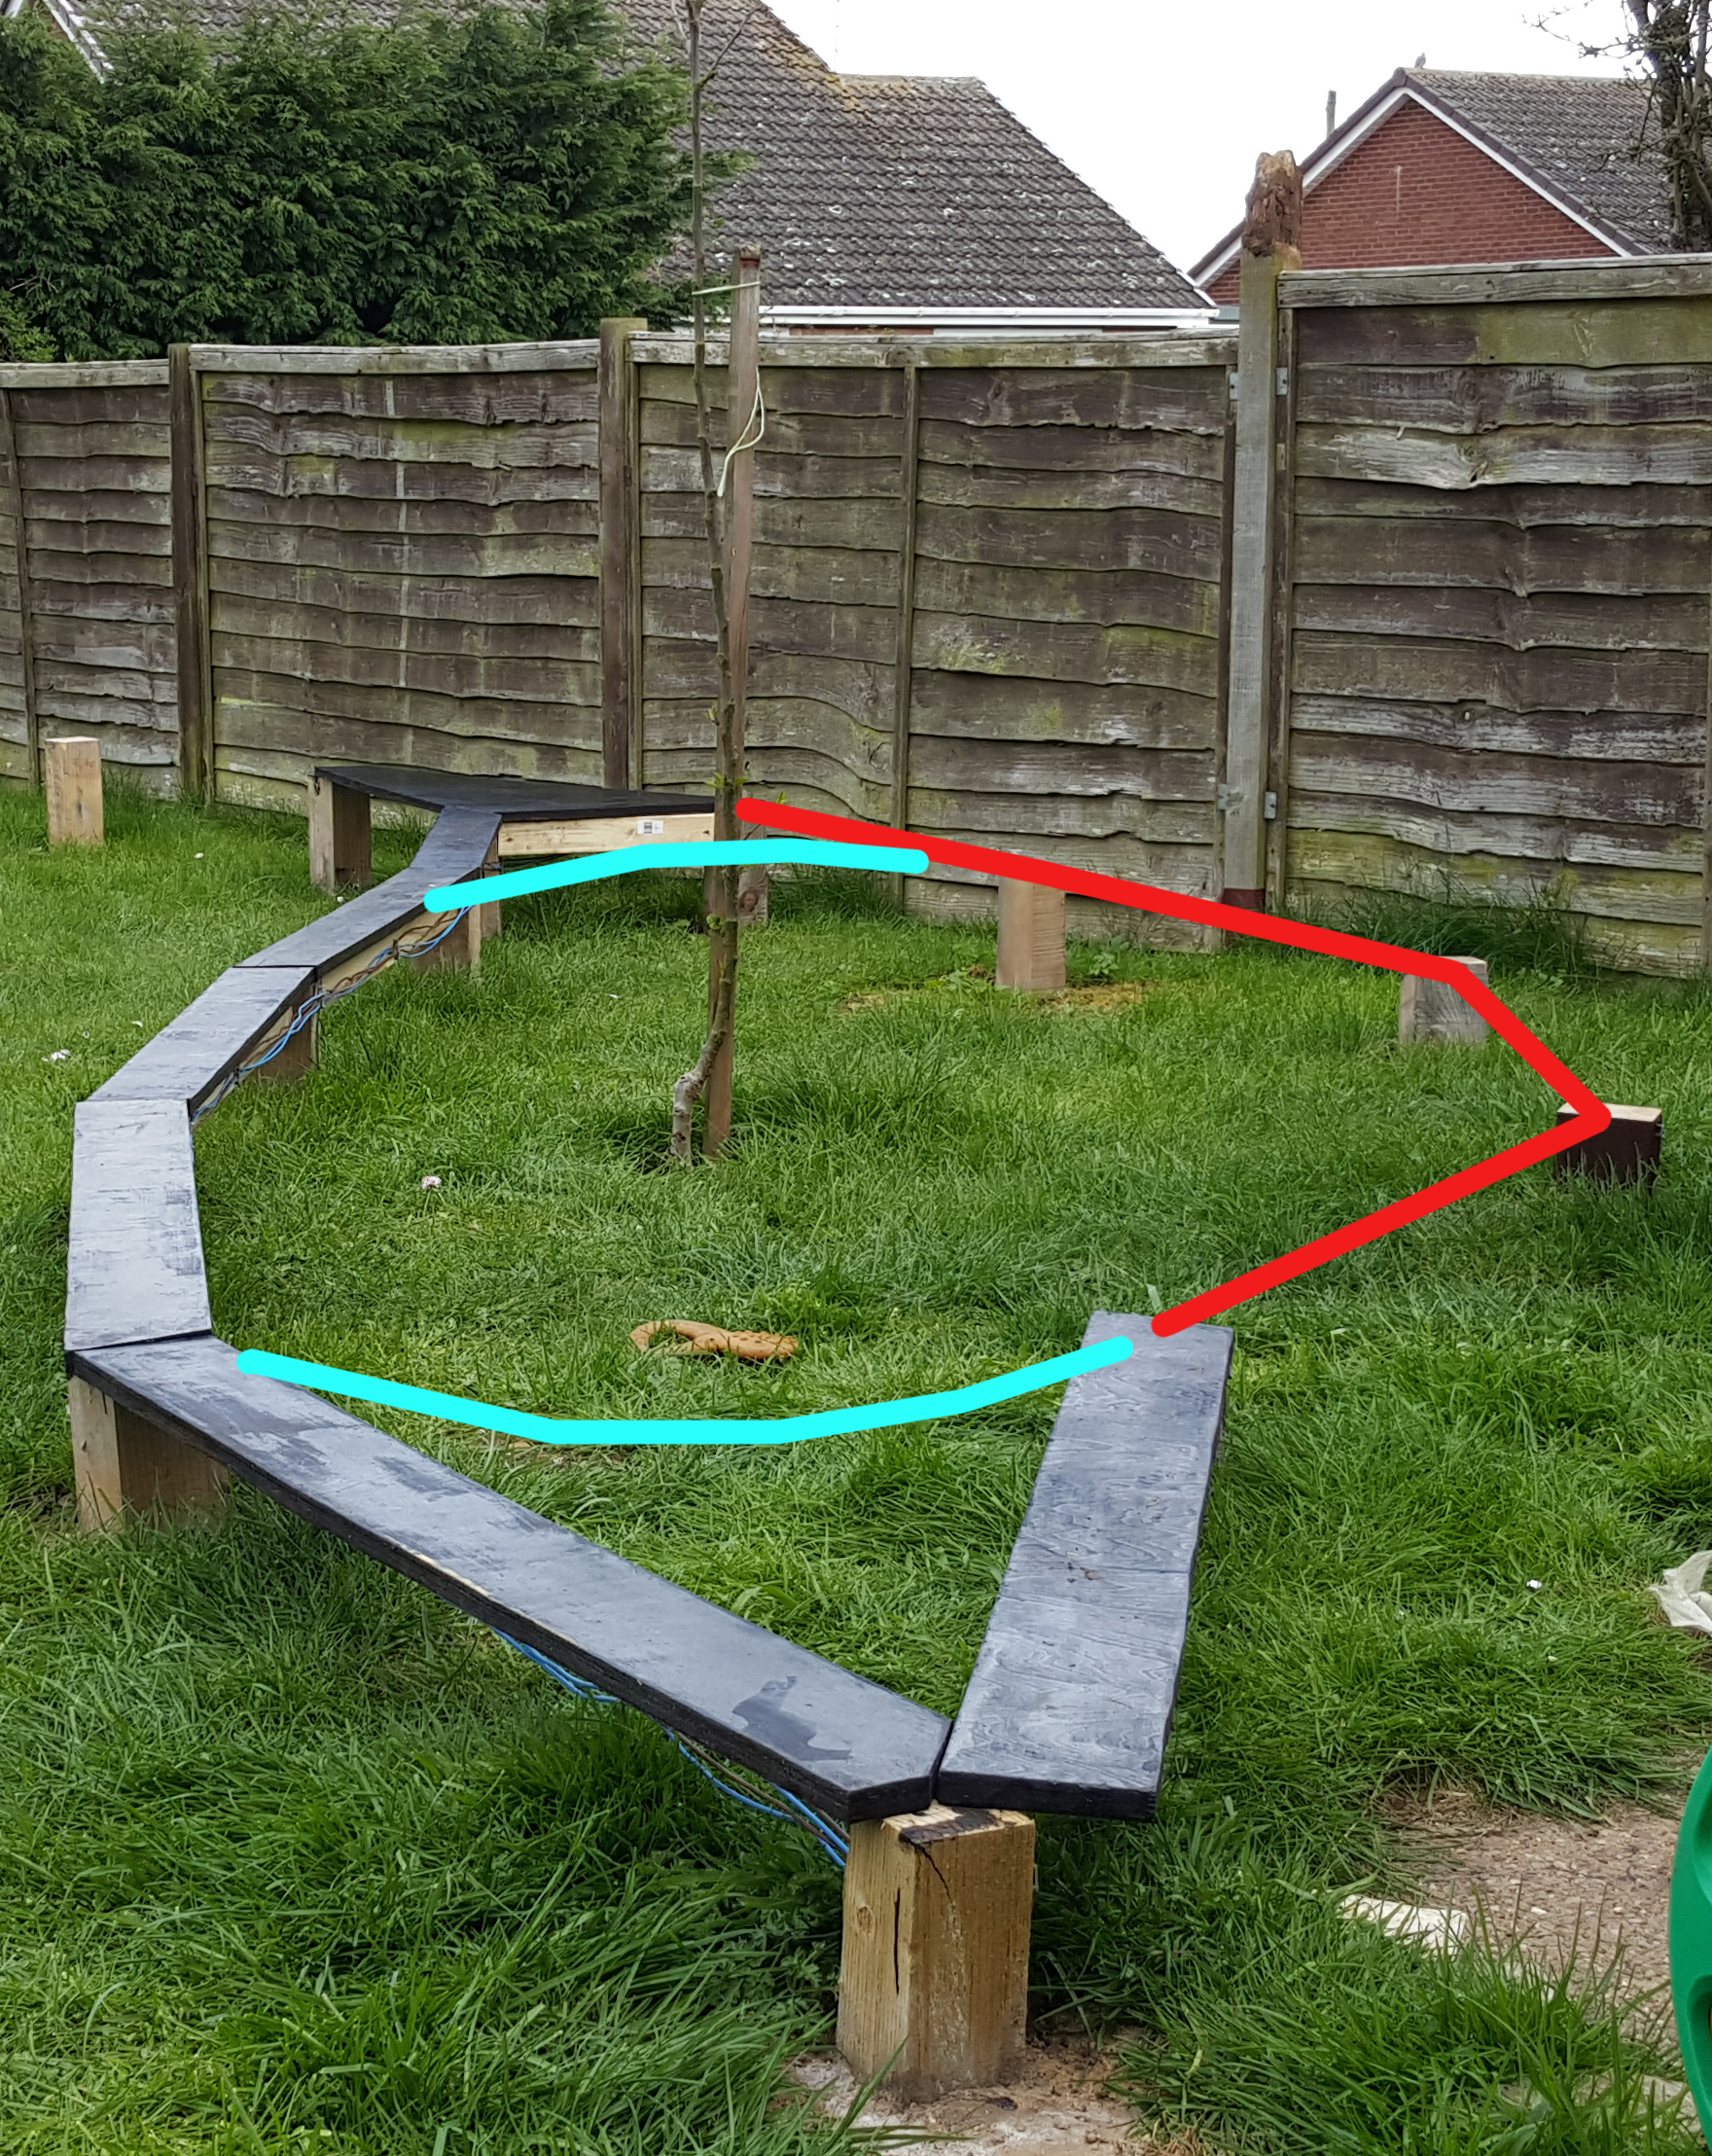
Hi Mick, I certainly hope you find the inspiration to get yours over the finish line as I for one can't wait to see your completed loop. For a sense of scale, there is just shy of 1.2m between each of those posts. From the image below, the right side in red have also been cut and waterproofed, I just need to get some more studwork before fixing them down in place. Then it's connecting the two sides (in blue) to make a loop. This is where I was going to be setting up as DCC from the start and have pointwork in to kickstart phase two (towards the shed), but as before it's cost prohibitive at this point so I'm just laying it as a pair of simple loops at this moment in time. Thanks very much for mentioning TrackShack - I've not heard of these before and looking at their prices I'm looking at shaving a third off what I was expecting to pay.
-
Thanks Chris, I hadn't thought of that being a potential issue for unsupported boards but it makes perfect sense. If you posted that because mine aren't level in the photo, it's because they hadn't been fixed down at that point and were just laying loosely on the posts. Image below is them fixed down flush amd level. Thanks pppp, i remember you pointing that out earlier on in the thread. I've since looked up a few videos on youtube and there's a good one of someone building a helix which shows the method well. I agree with the ebay prices too - some cheap examples are aweful, and in my mind if I'm going to pay nearly full price I may as well go brand new for reliability sake. I'll probably go second hand for the fiddle yard though as they're going to be sheltered and hidden so don't have to look good
-
Wow, a month has gone by already since my last post! The joy of only being able to work on the layout at weekends when there's good weather has slowed things down, and one of the weekends that was good enough I needed to lay new flooring due to a massive washing machine leak But good things come to those who wait (apparently), and it was beautiful weather this weekend so I was able to spend both days outside. Going on from previous advice I have used studwork between posts to brace the top-board to prevent sag, and while it may be a bit overkill compared by the 1"x1" suggested, it certainly makes it a bit more sturdy should Godzilla (sorry, Ben) decide to climb on it when I'm not looking. I've also cut, shaped and bitumen painted the boards for the right hand side of the loop but have yet to brace these. Due to the width of these boards (going to be 4 tracks) I'm going to use 2 bits of studwork to prevent warping from left to right as well. Wiring now in place for DCC. Short-term to-do list: - brace the right hand section - complete the top and bottom return loop - felt the boards - lay the track Did some maths the other day and if I was going to lay the track how it will end up being before I run any trains, it'll be another 6 months before I see anything move. This is because I set aside £50 a month for the hobby, but didn't have plans for the loop (phase 1) at the beginning so didn't take into account all of the pointwork that this new plan features. When all phases are complete this section is going to have 12 points and 6 crossovers - at £15.00 on average each that's £270 of trackwork, and that doesn't include the fexitrack! I could get phase 1 to a DCC ready stage using 8 points and 4 crossovers (£180), but that's still more than I can justify at this point. So to get around this and have something running for the Summer, just a pair of DC loops will be laid and then everything else can get put down as and when funds allow. Order has been placed with eHattons today for the track and fishplates, so fingers crossed for good weather this weekend too Shaun